Whether you are a homeowner who has designed your own outdoor space or you a garden designer or landscape architect looking for a company to put the finishing touch to your project, Atlantic Stone will build your garden design to exacting standards, on schedule and within budget.
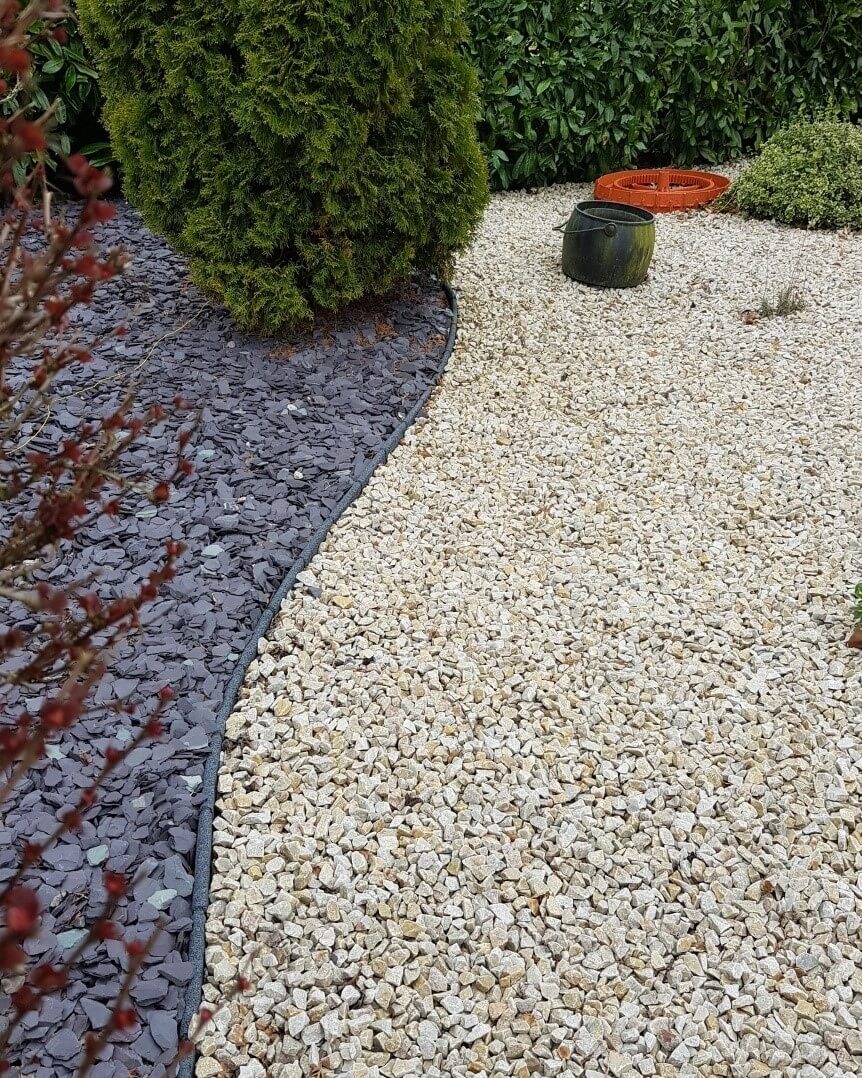
We can supply and install decorative stone, bark mulch, sleepers, screened topsoil or our famous Flexiborder to create a sleek design. A look that will set off your home or business, with a finish which will last for years, with very low maintenance.
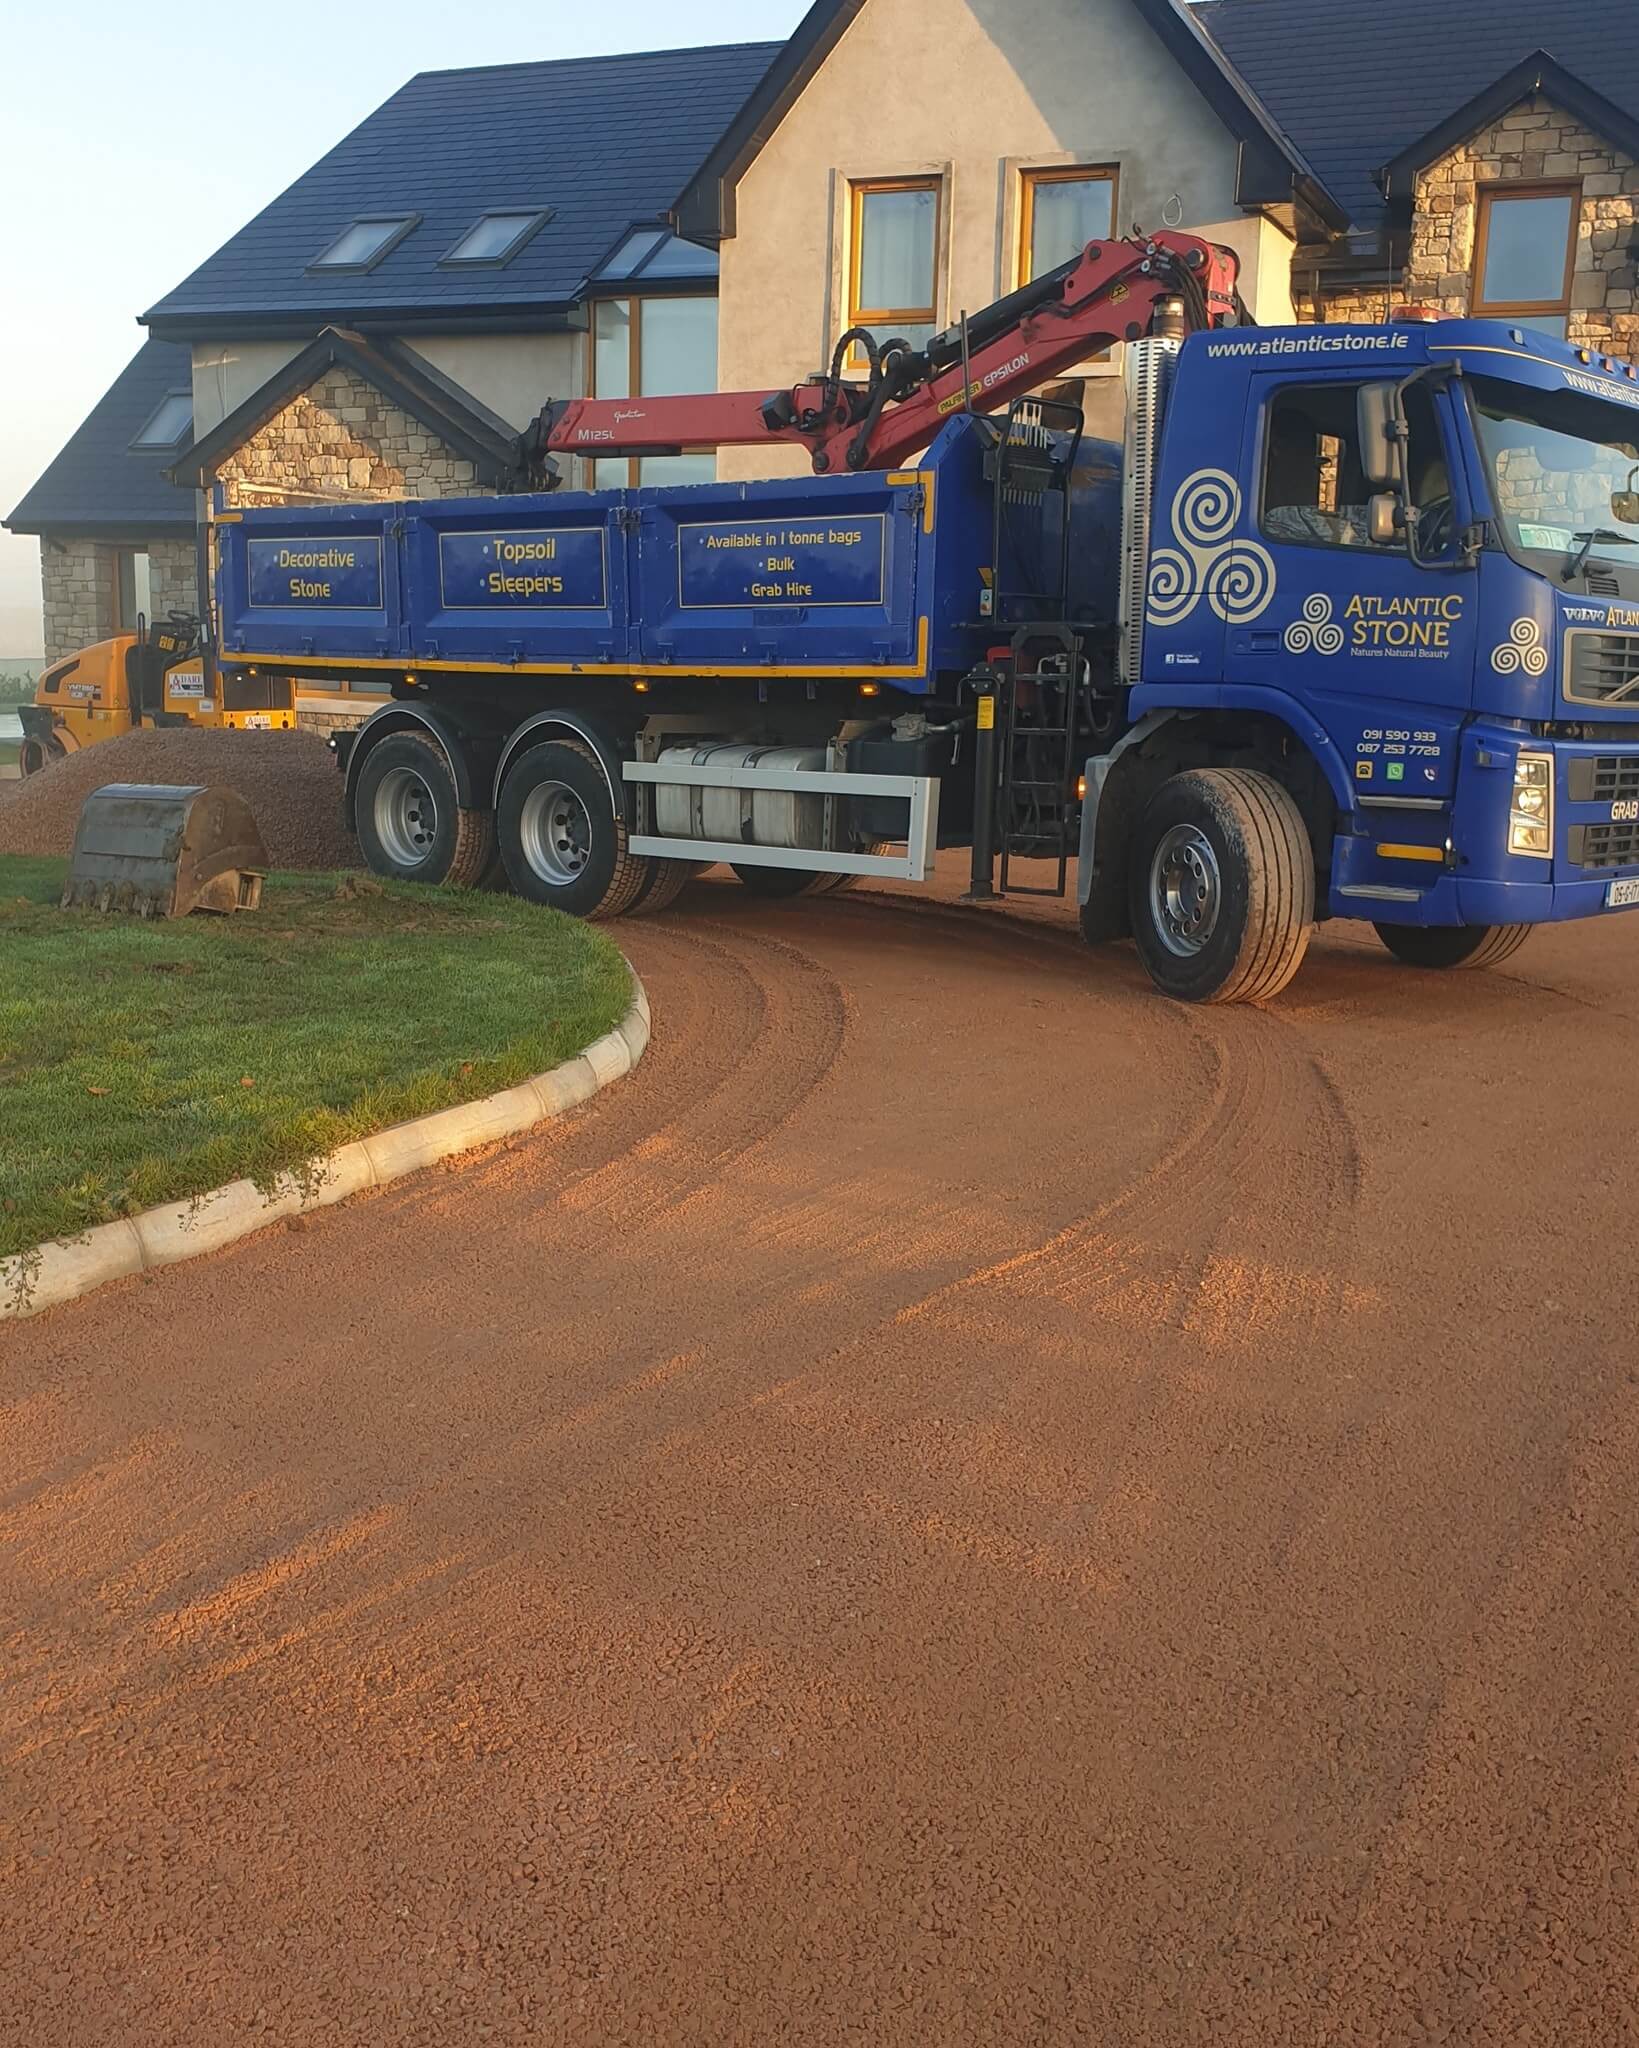
We supply and fit our products from our base in Galway city to the surrounding counties and can supply our products Nationwide – often with Next Day Delivery. We have included a selection of the many projects we have transformed below.
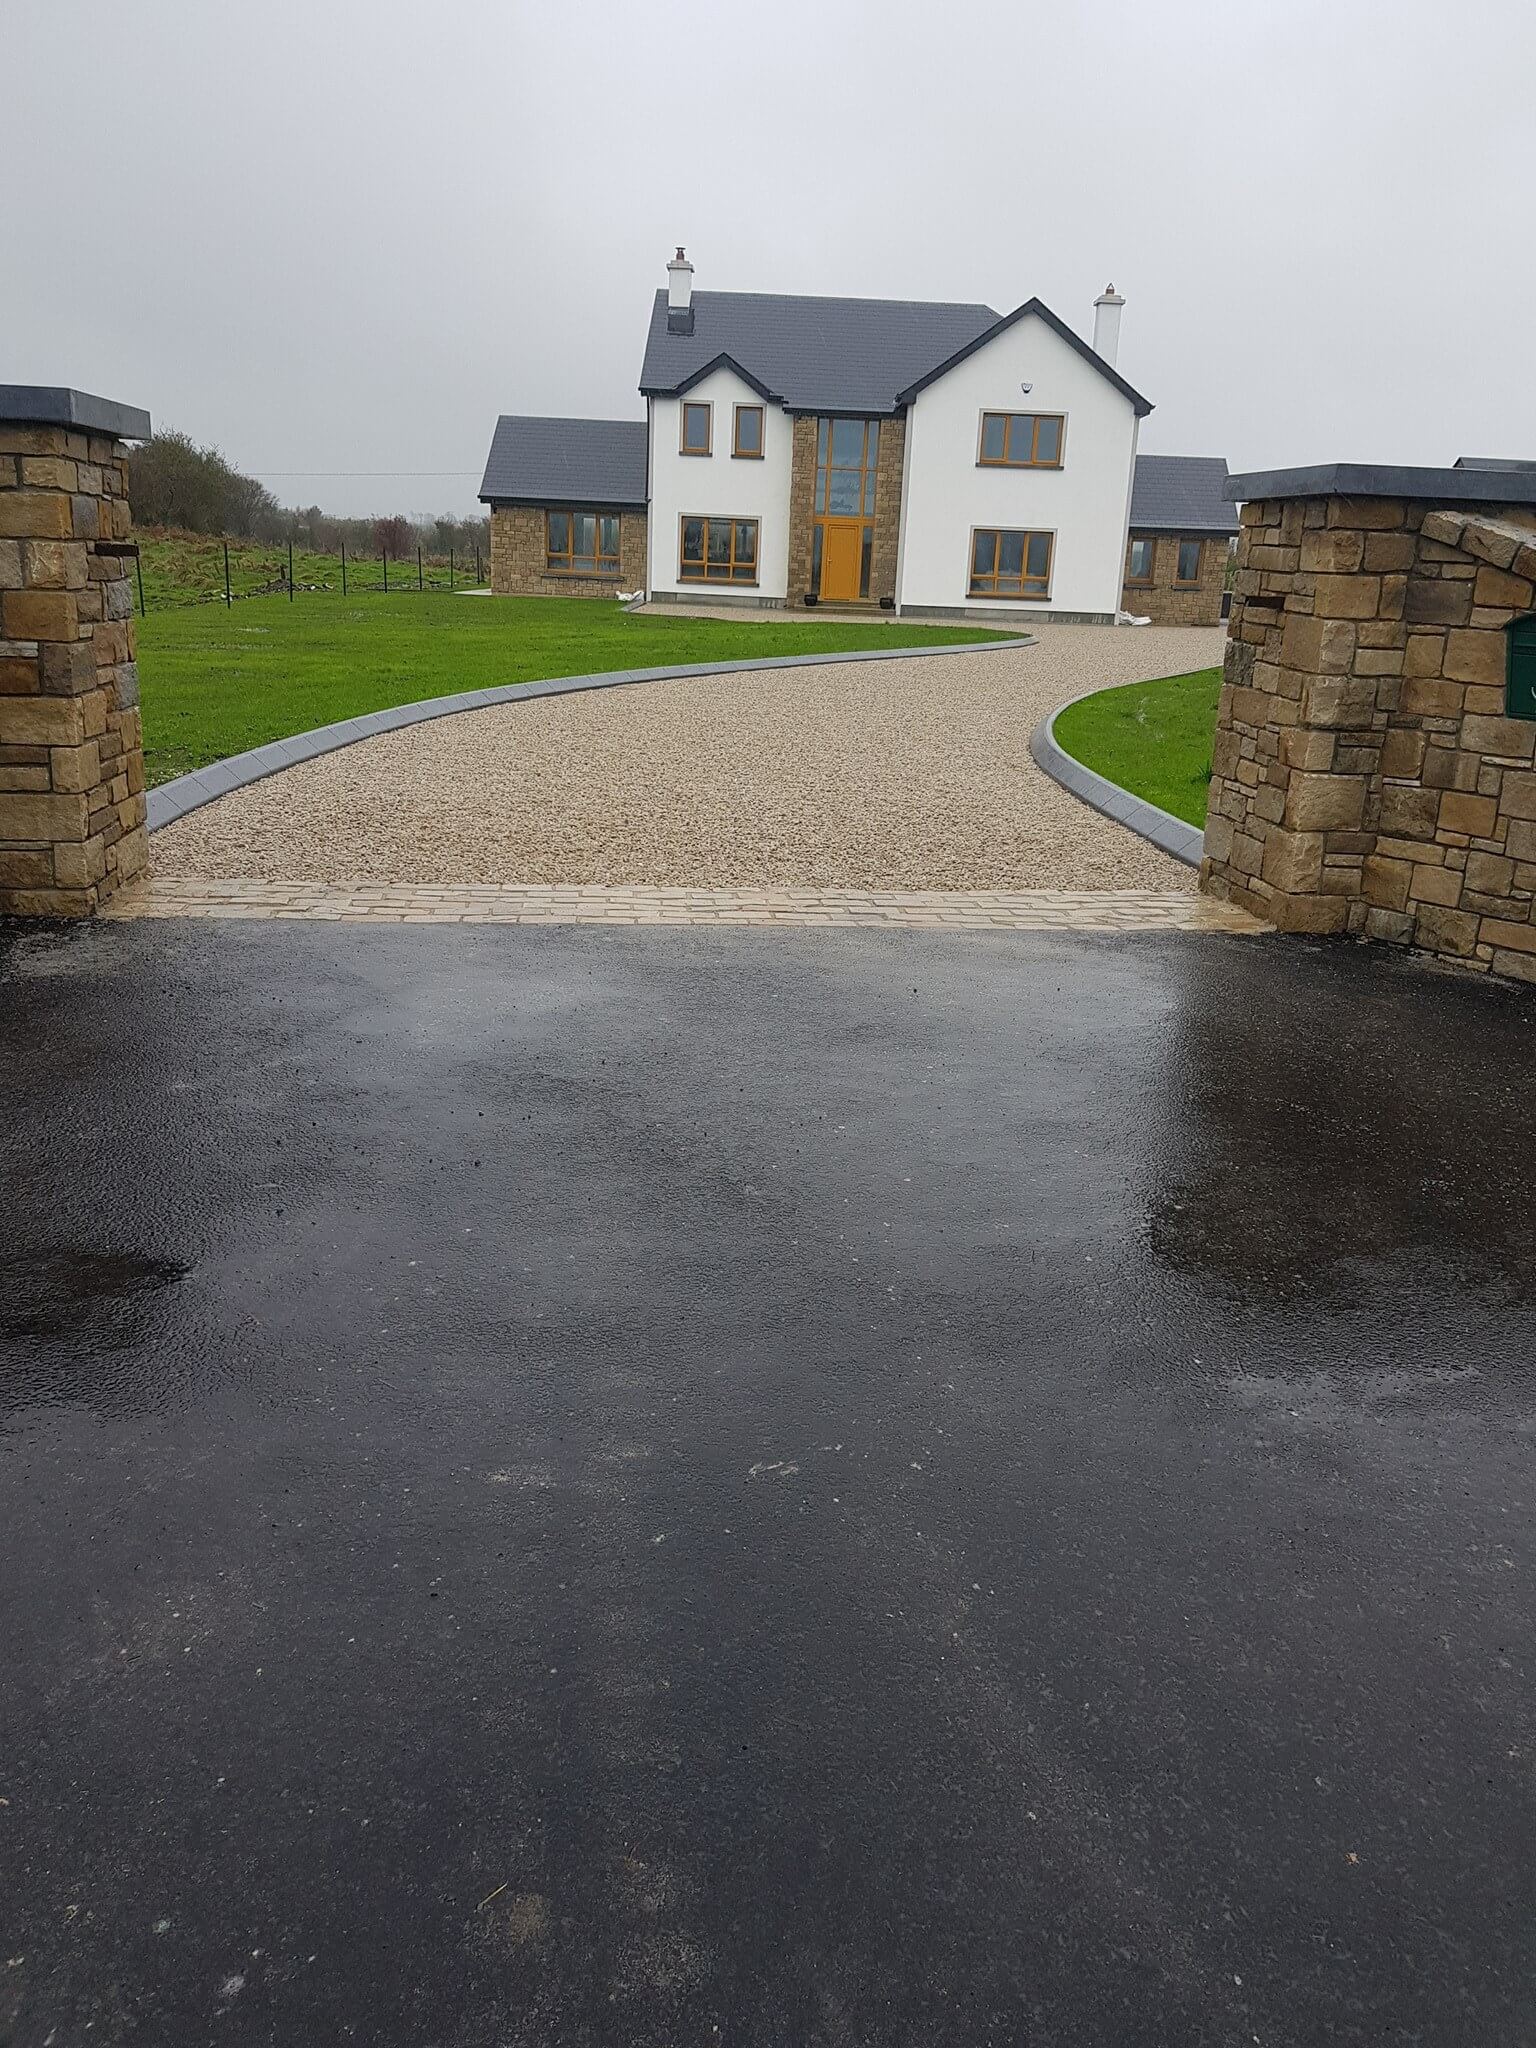
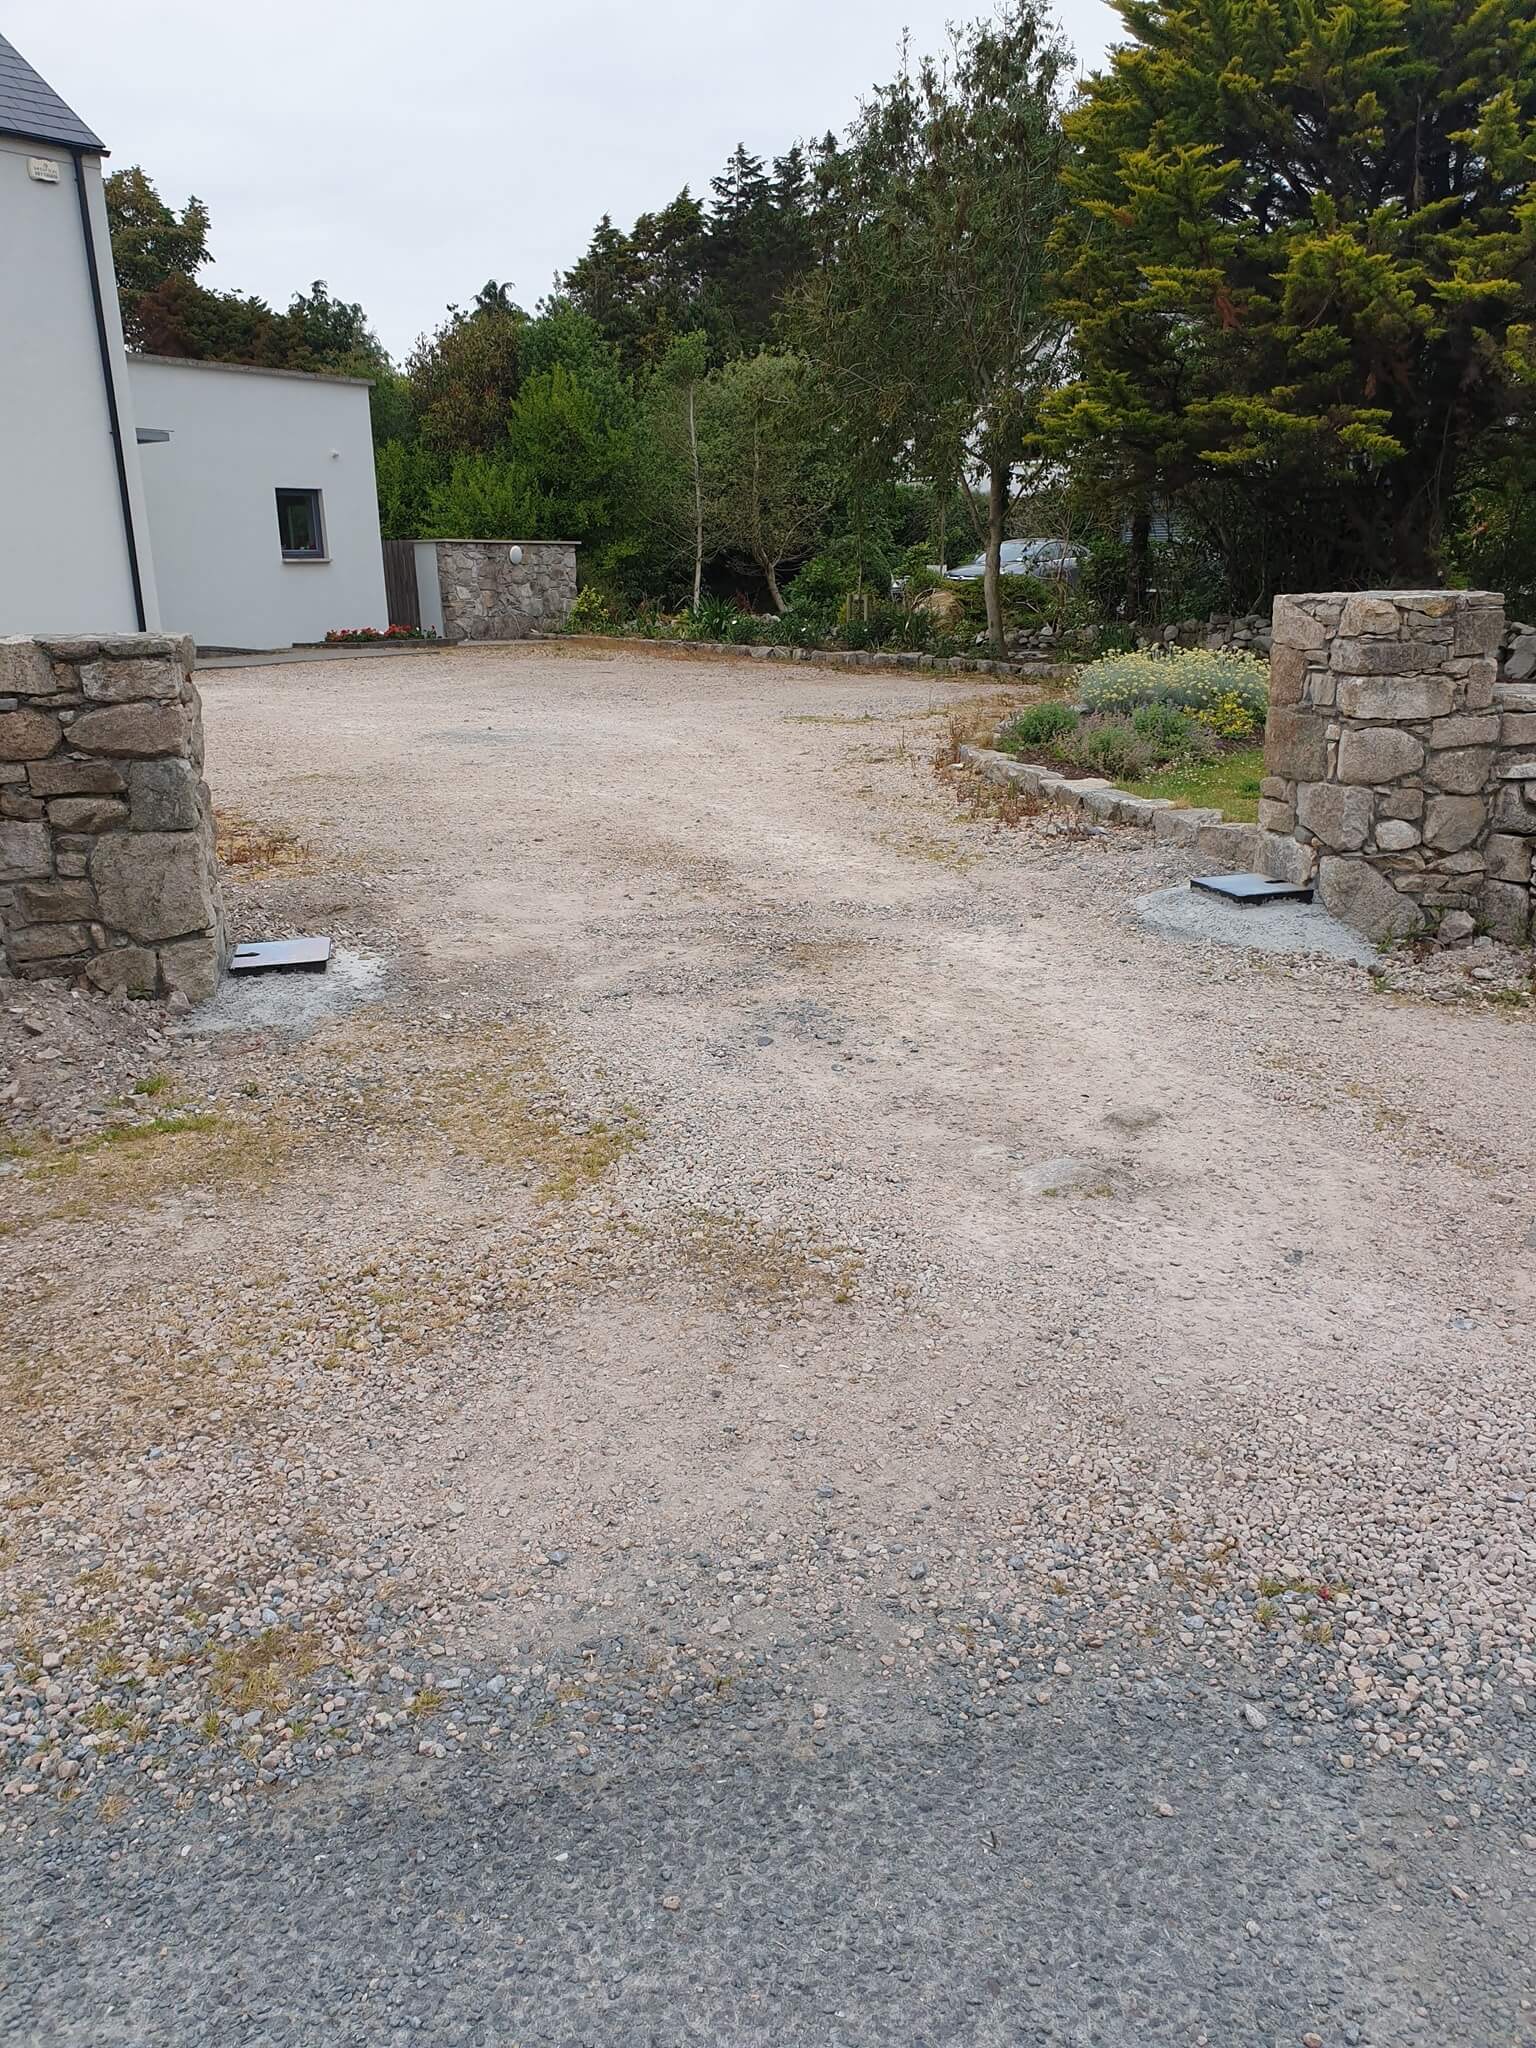
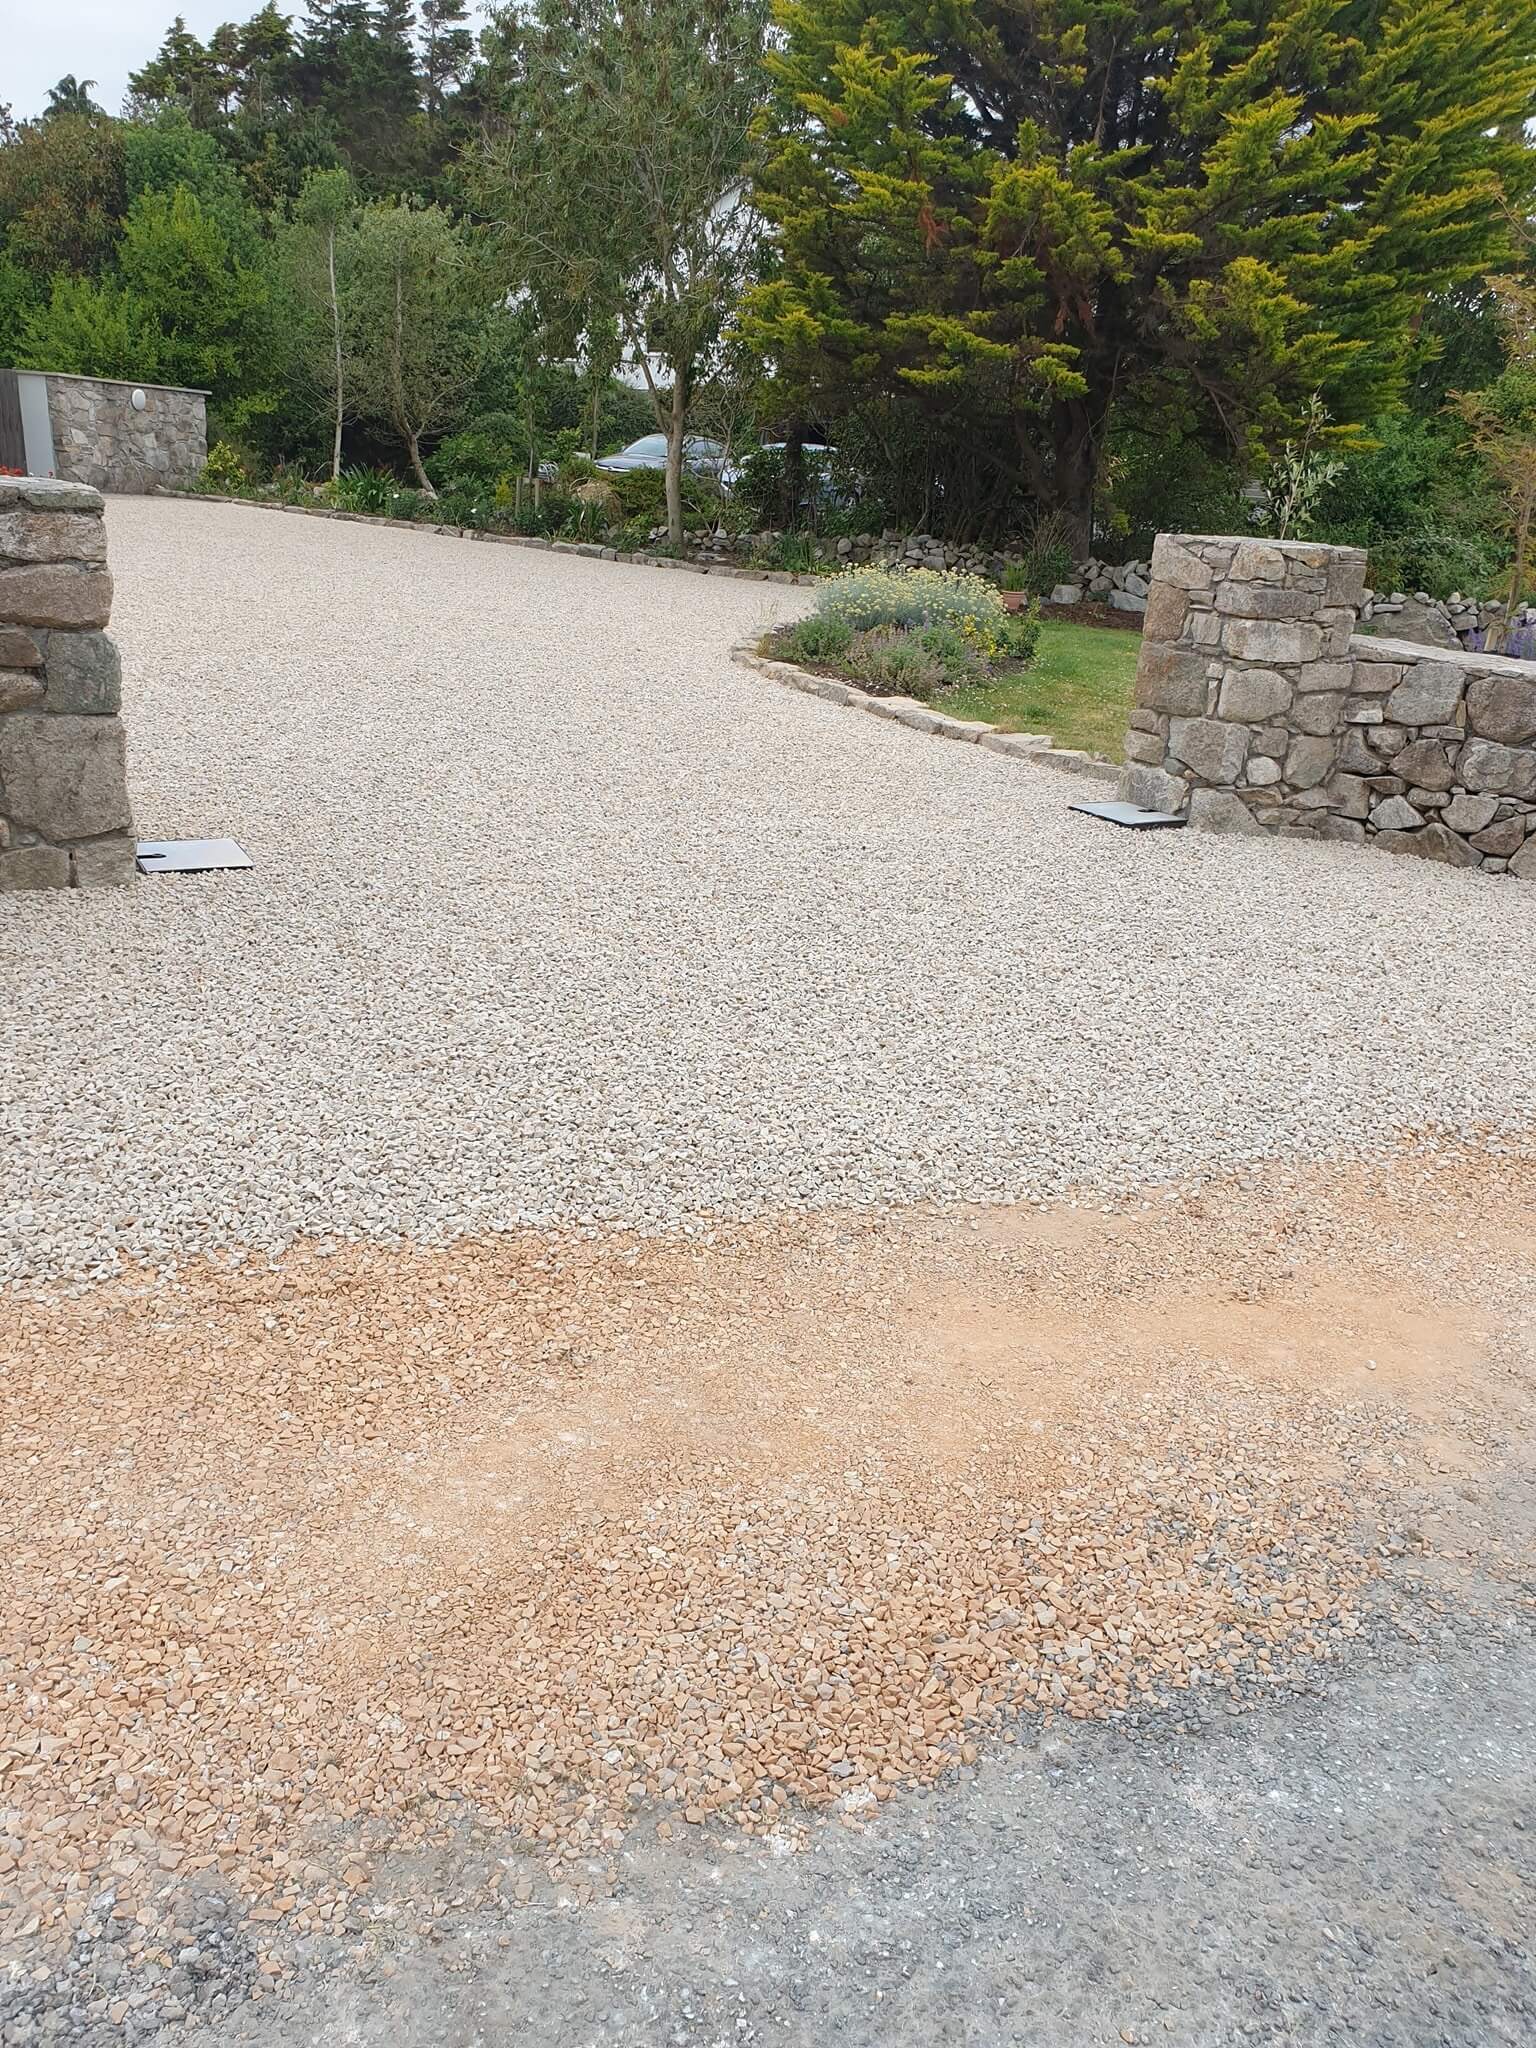
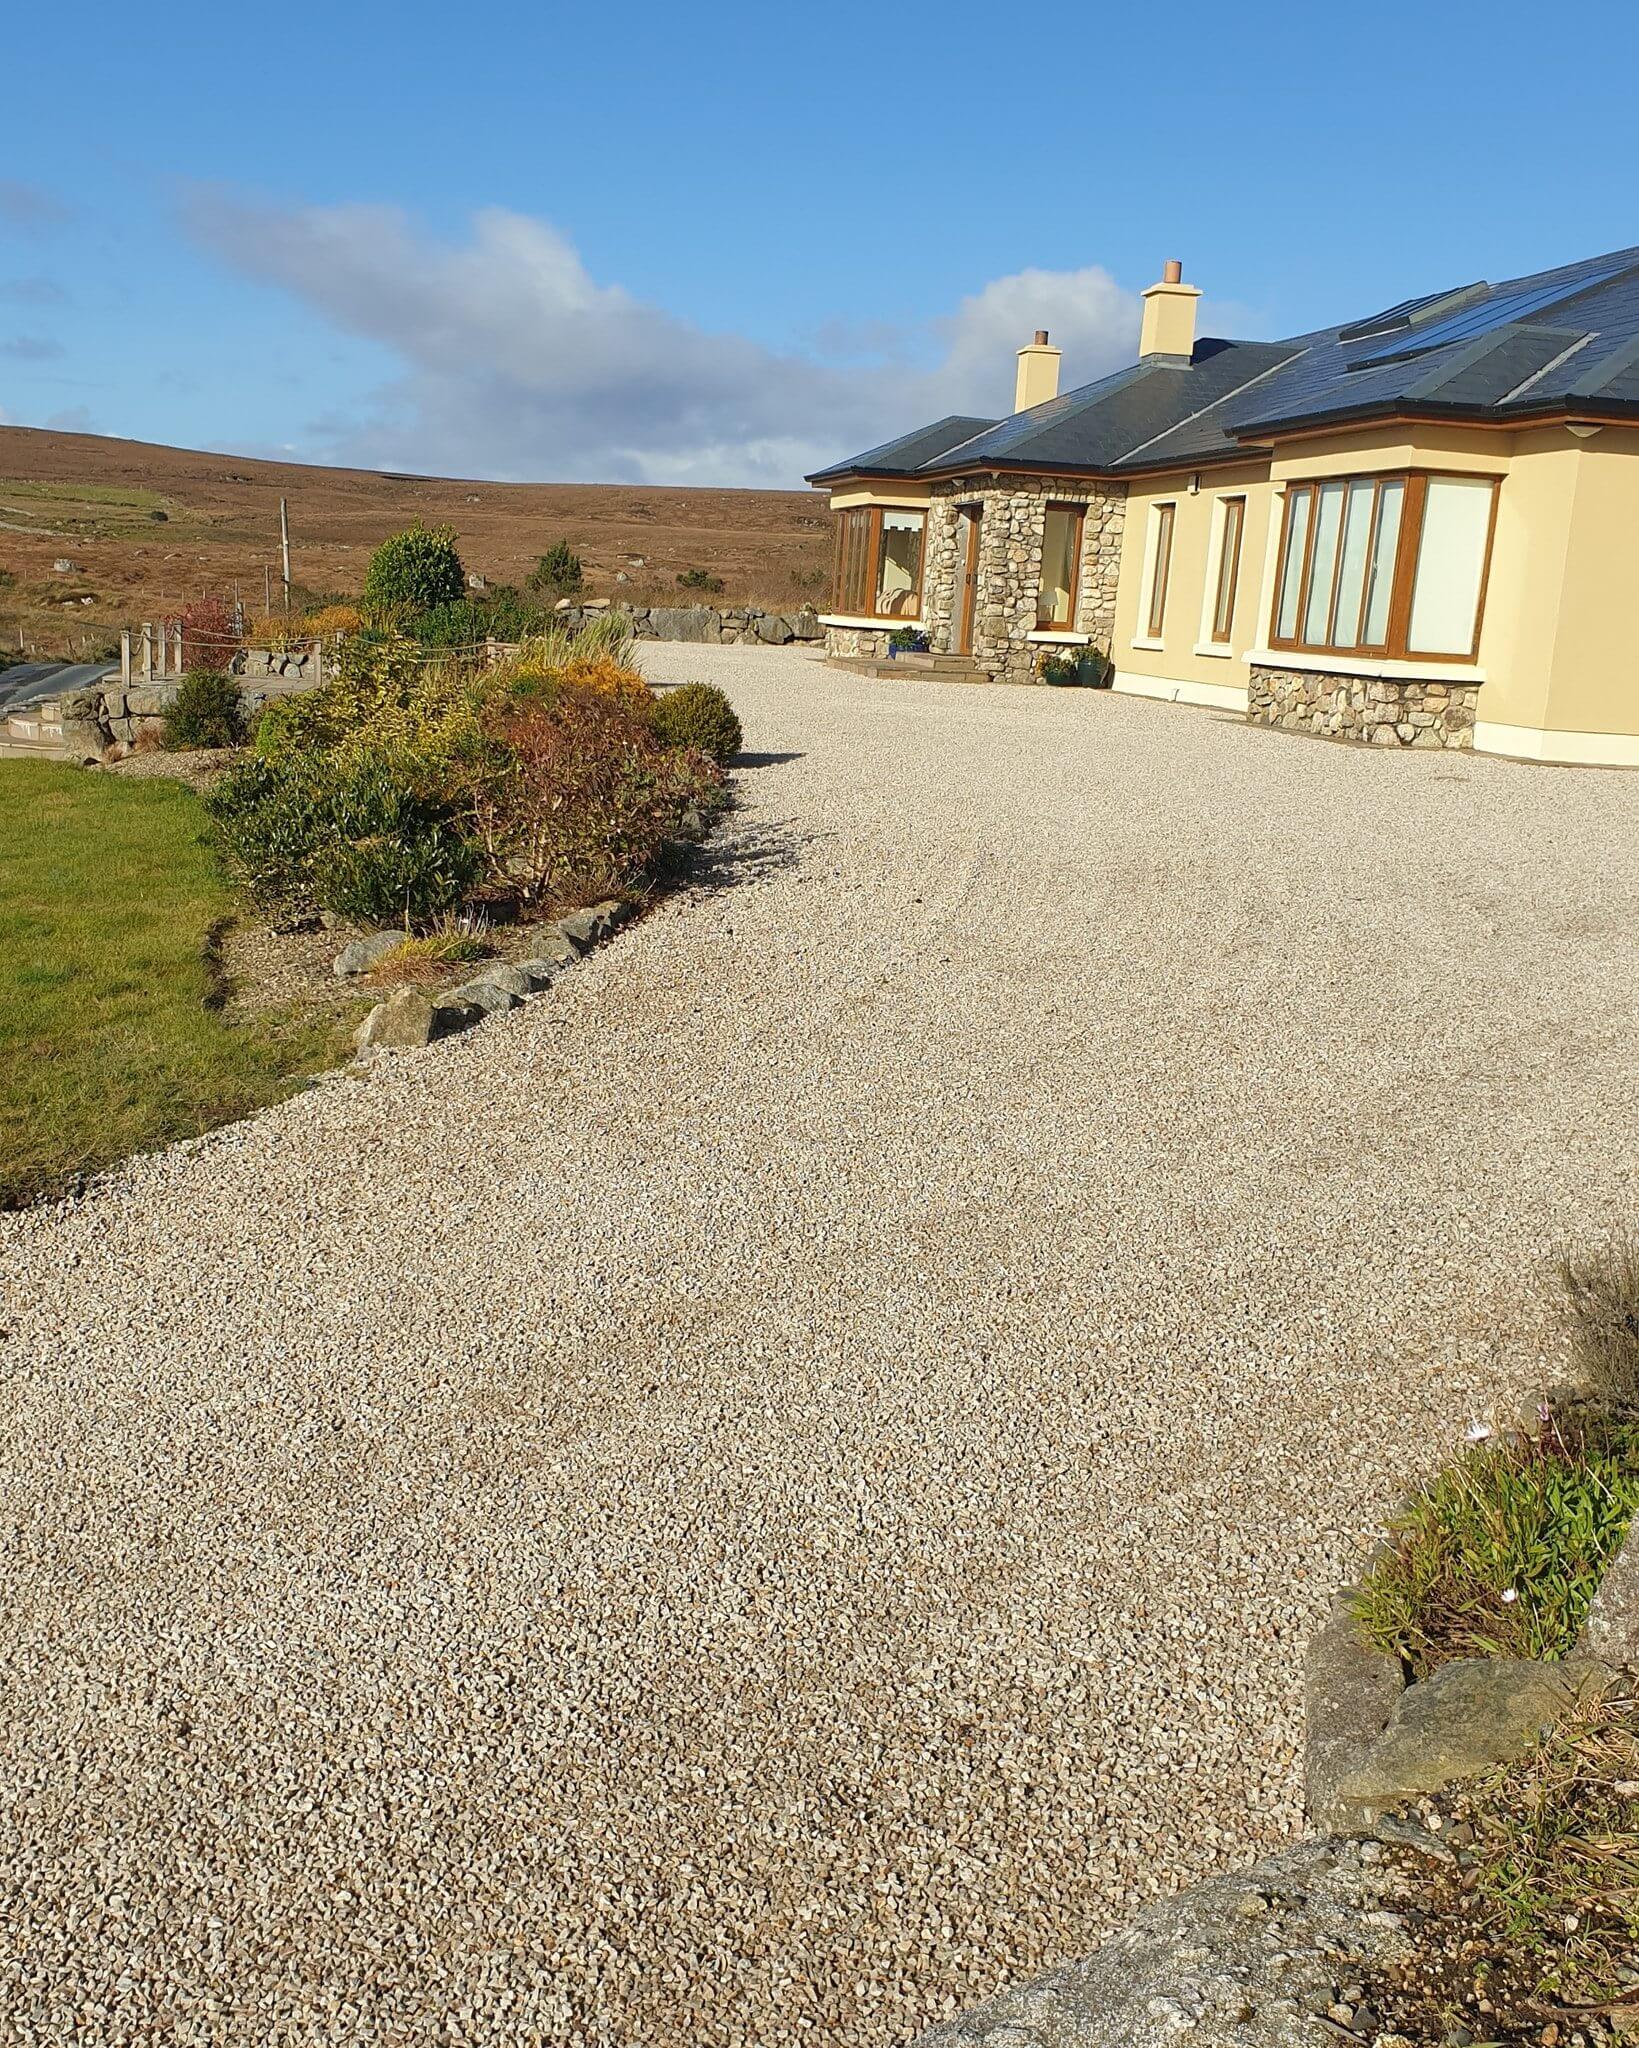
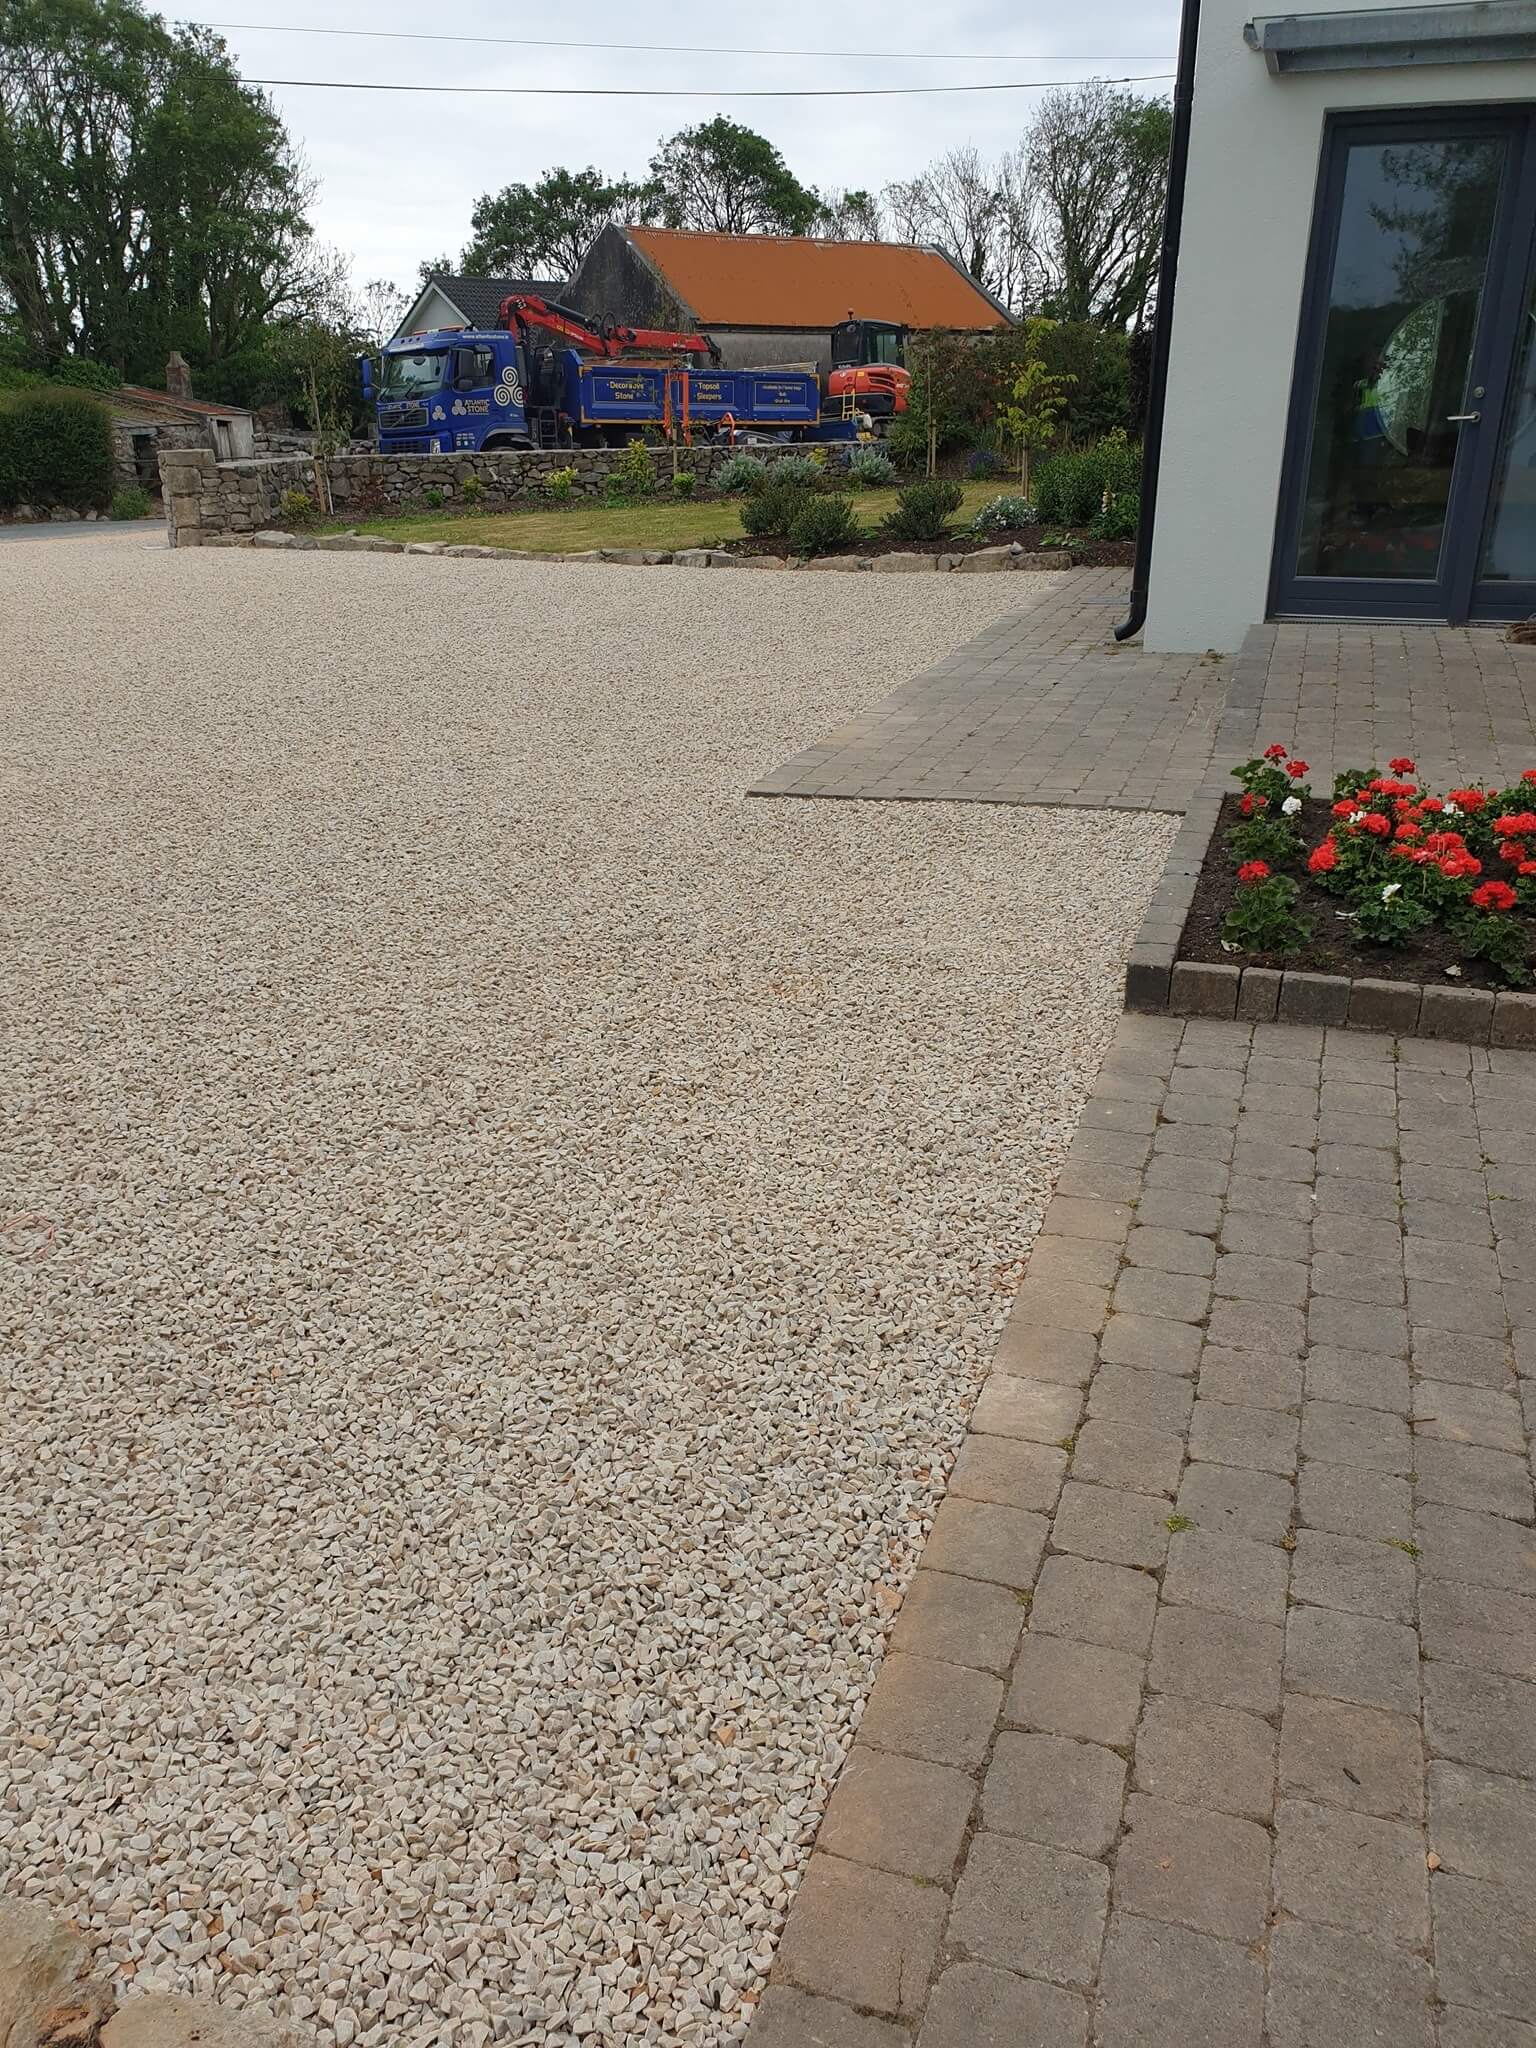
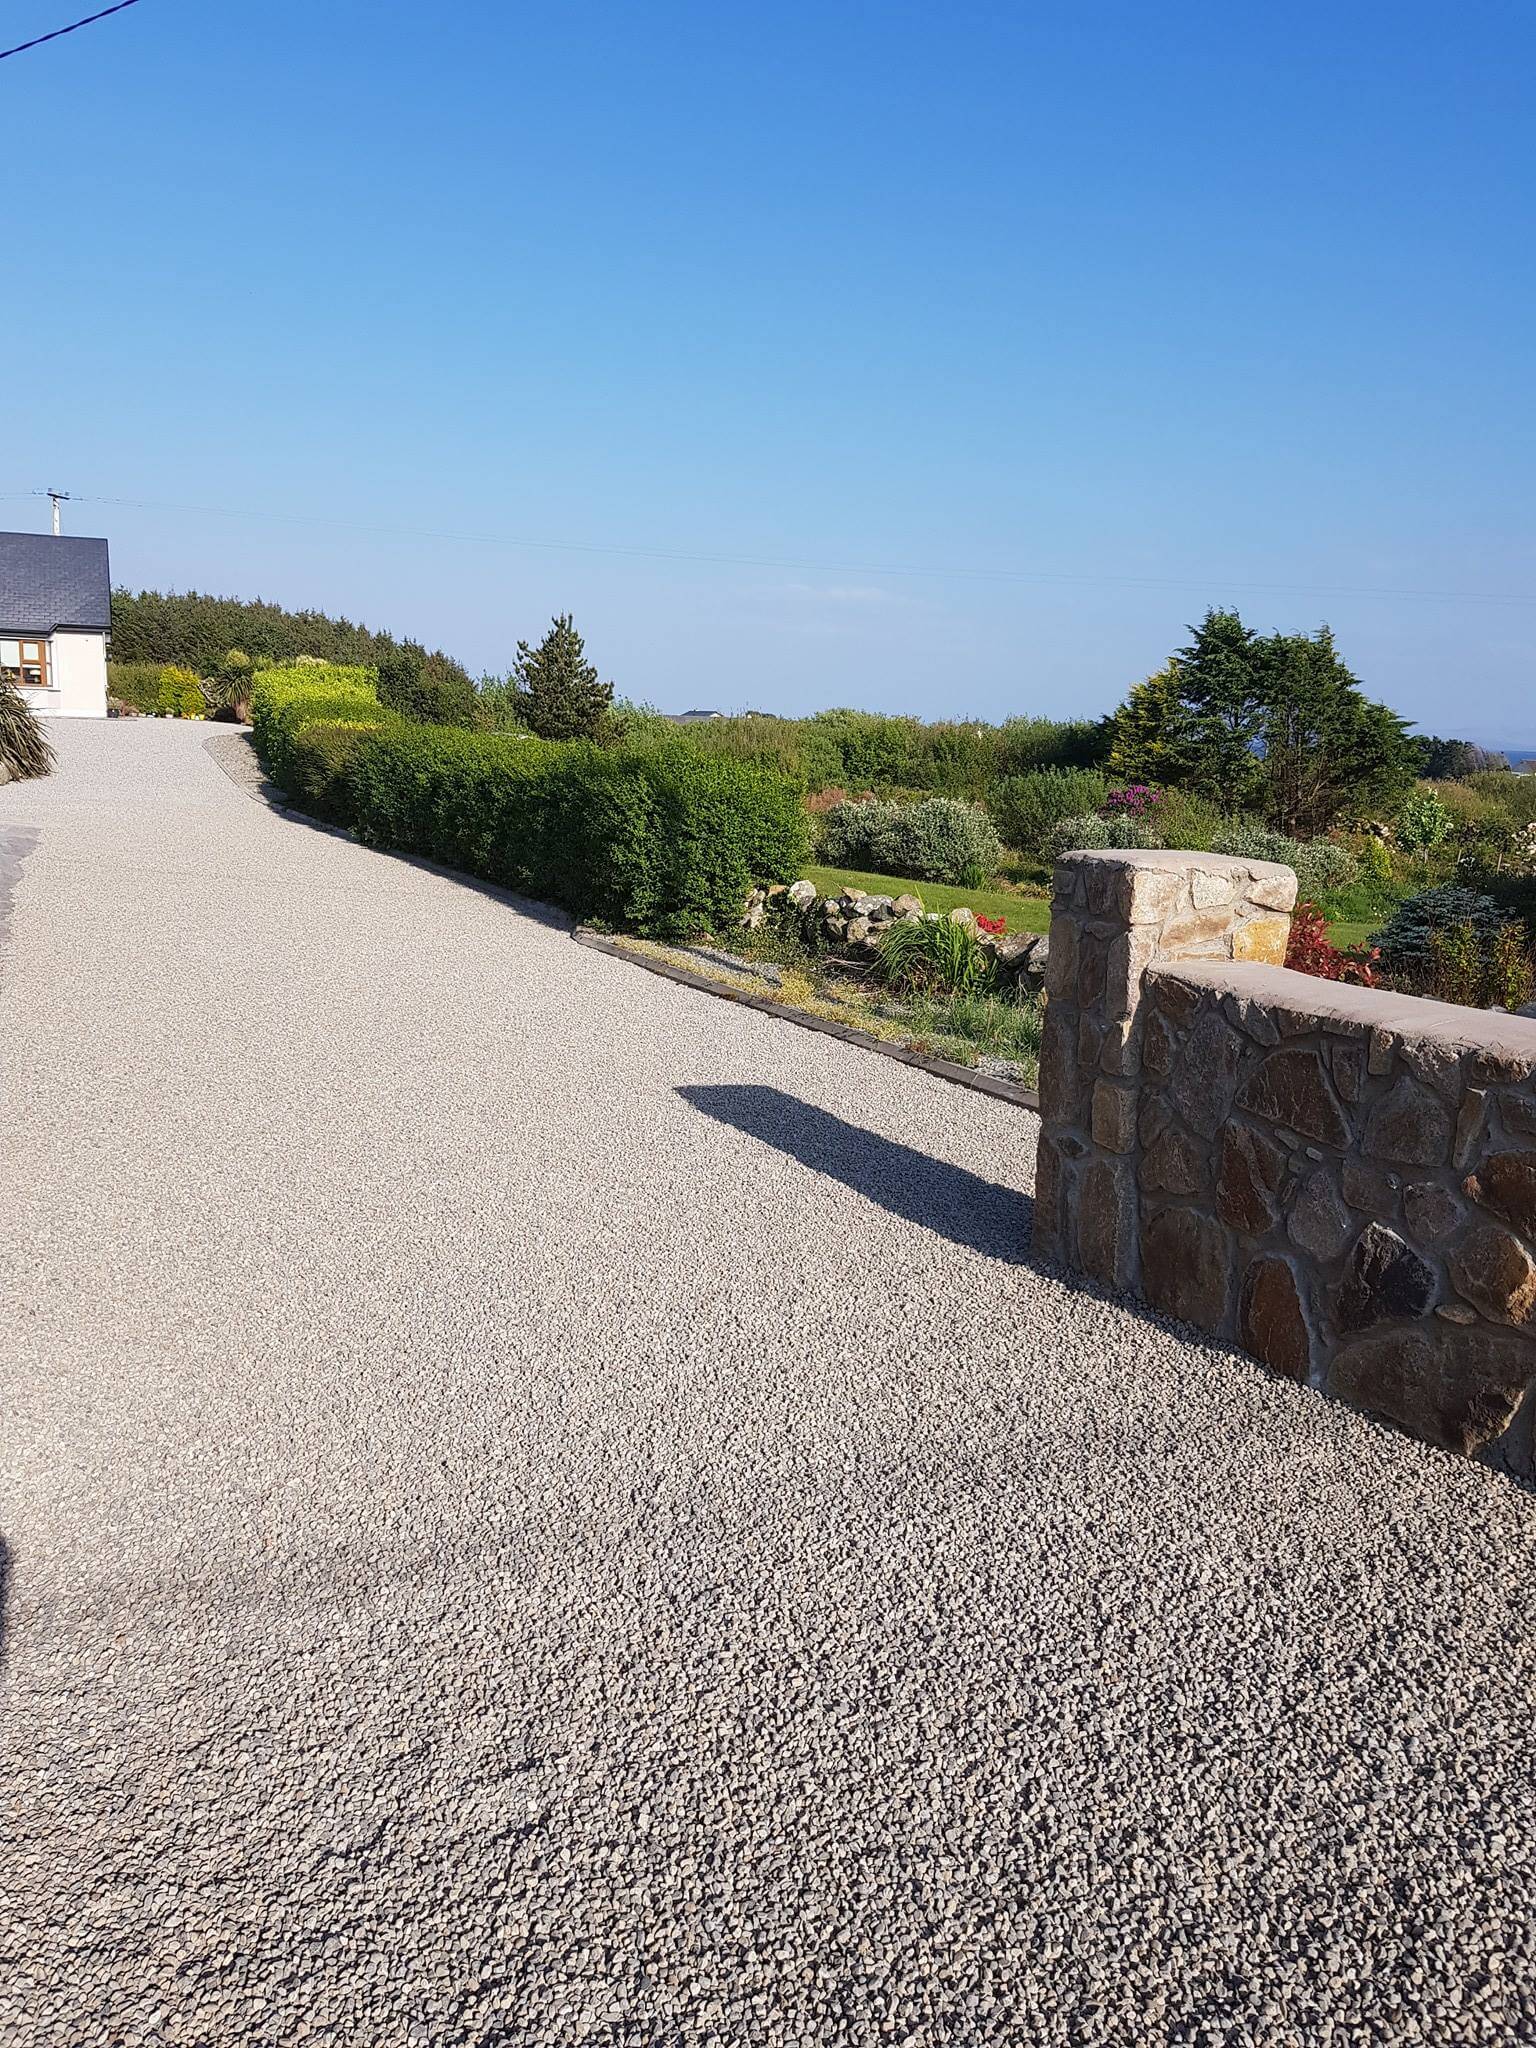
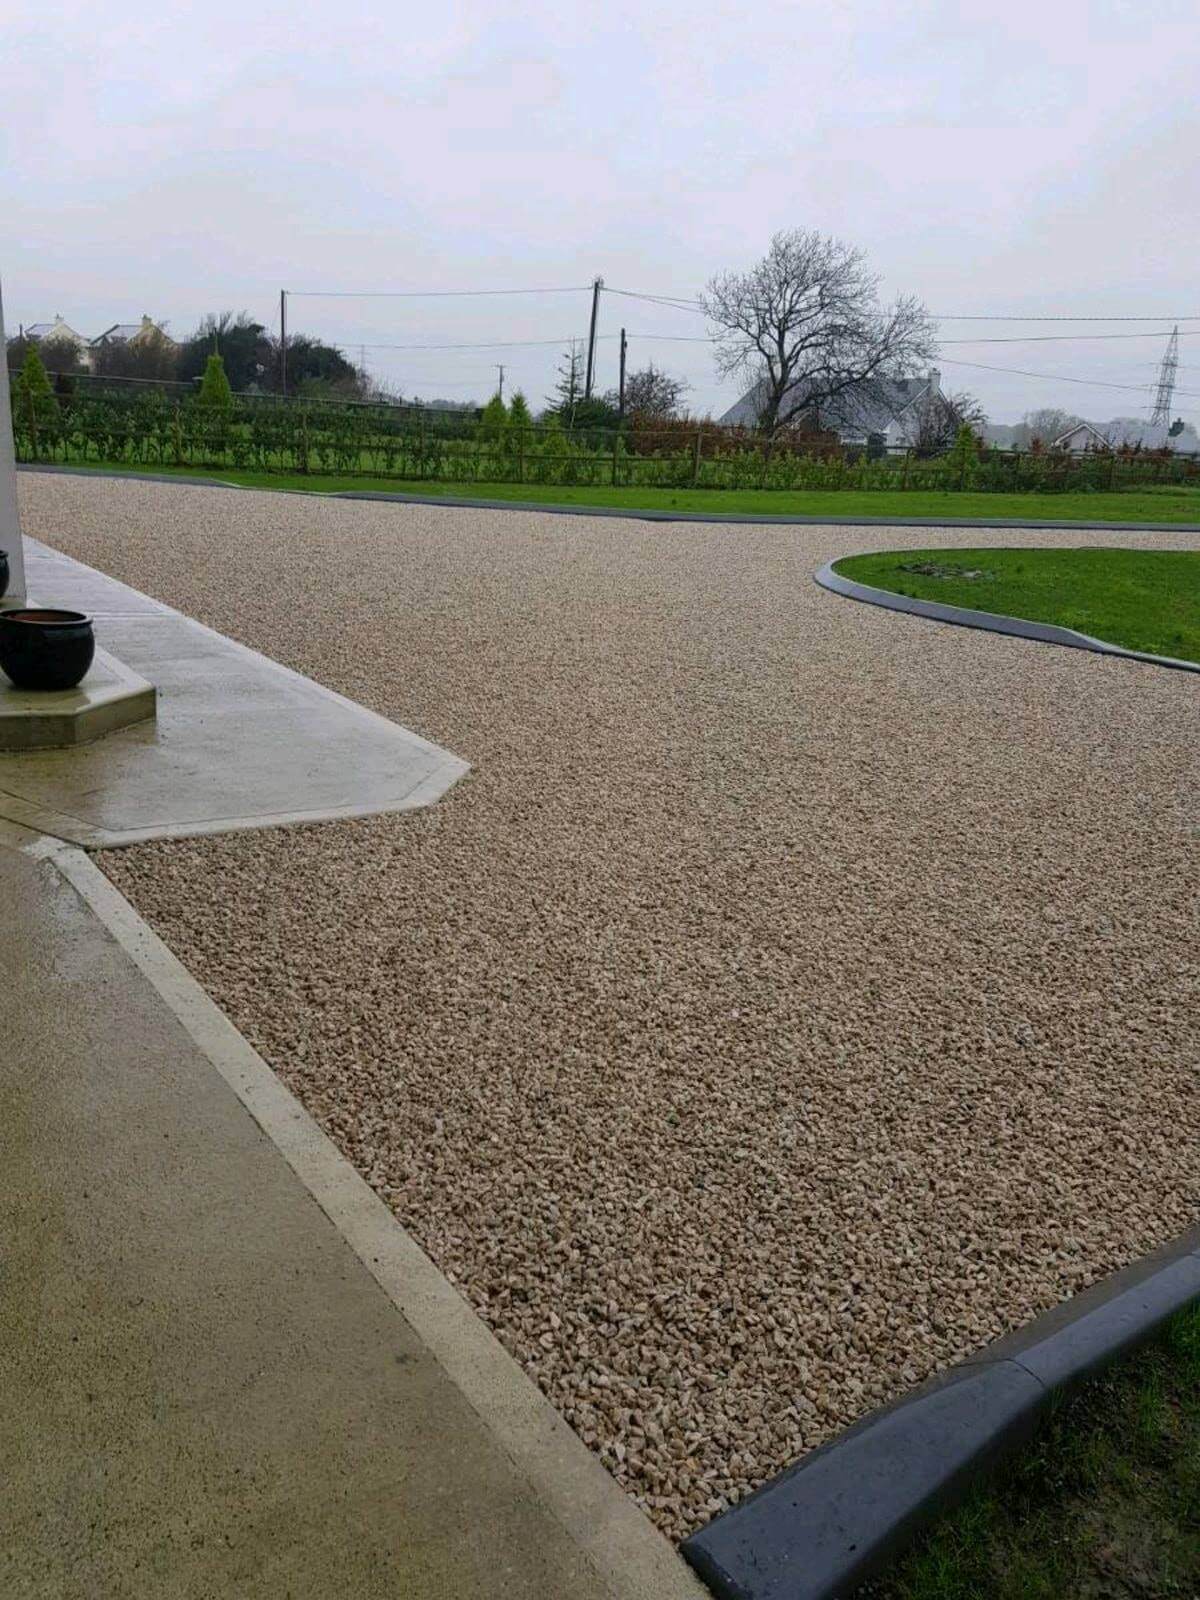
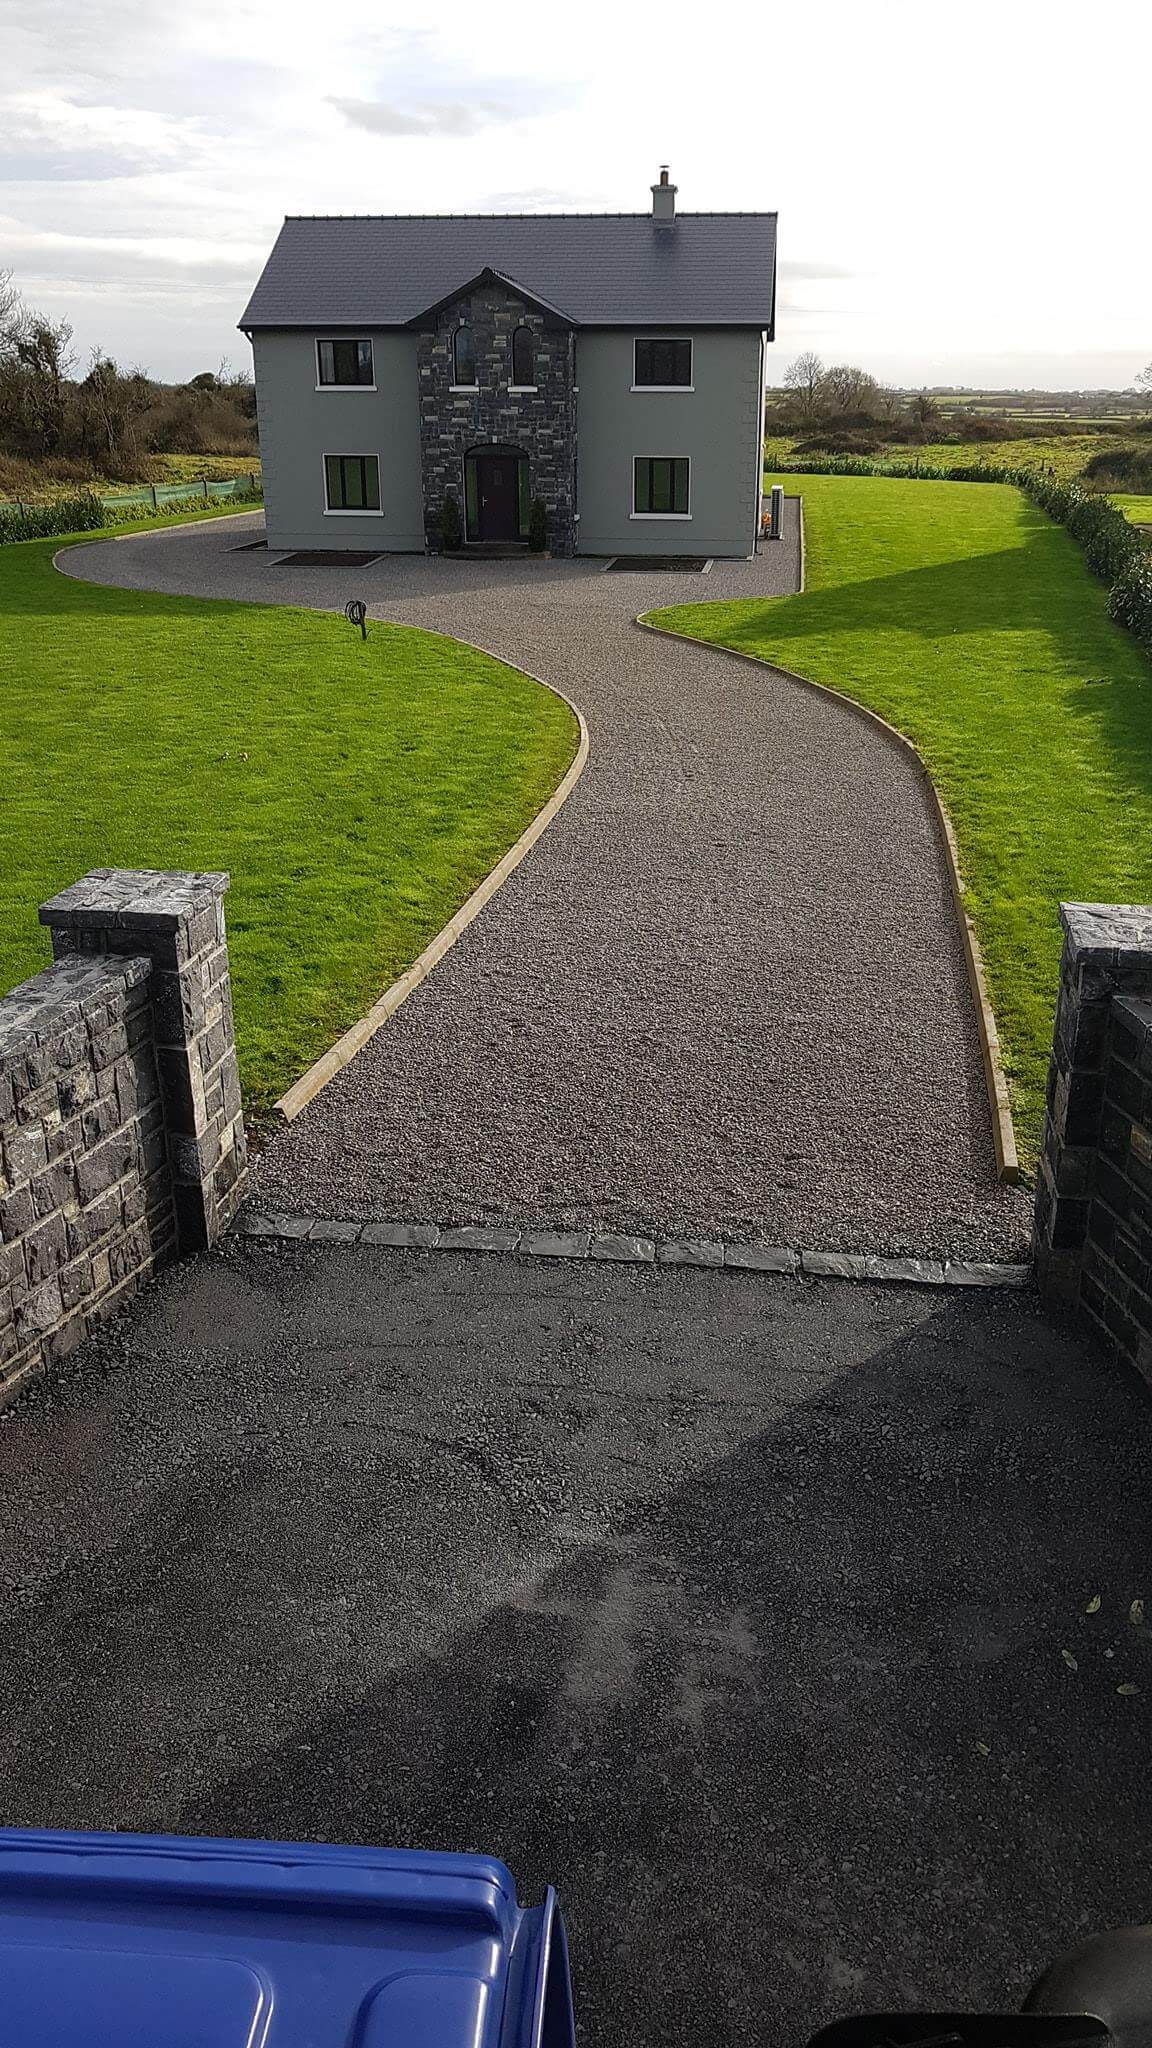
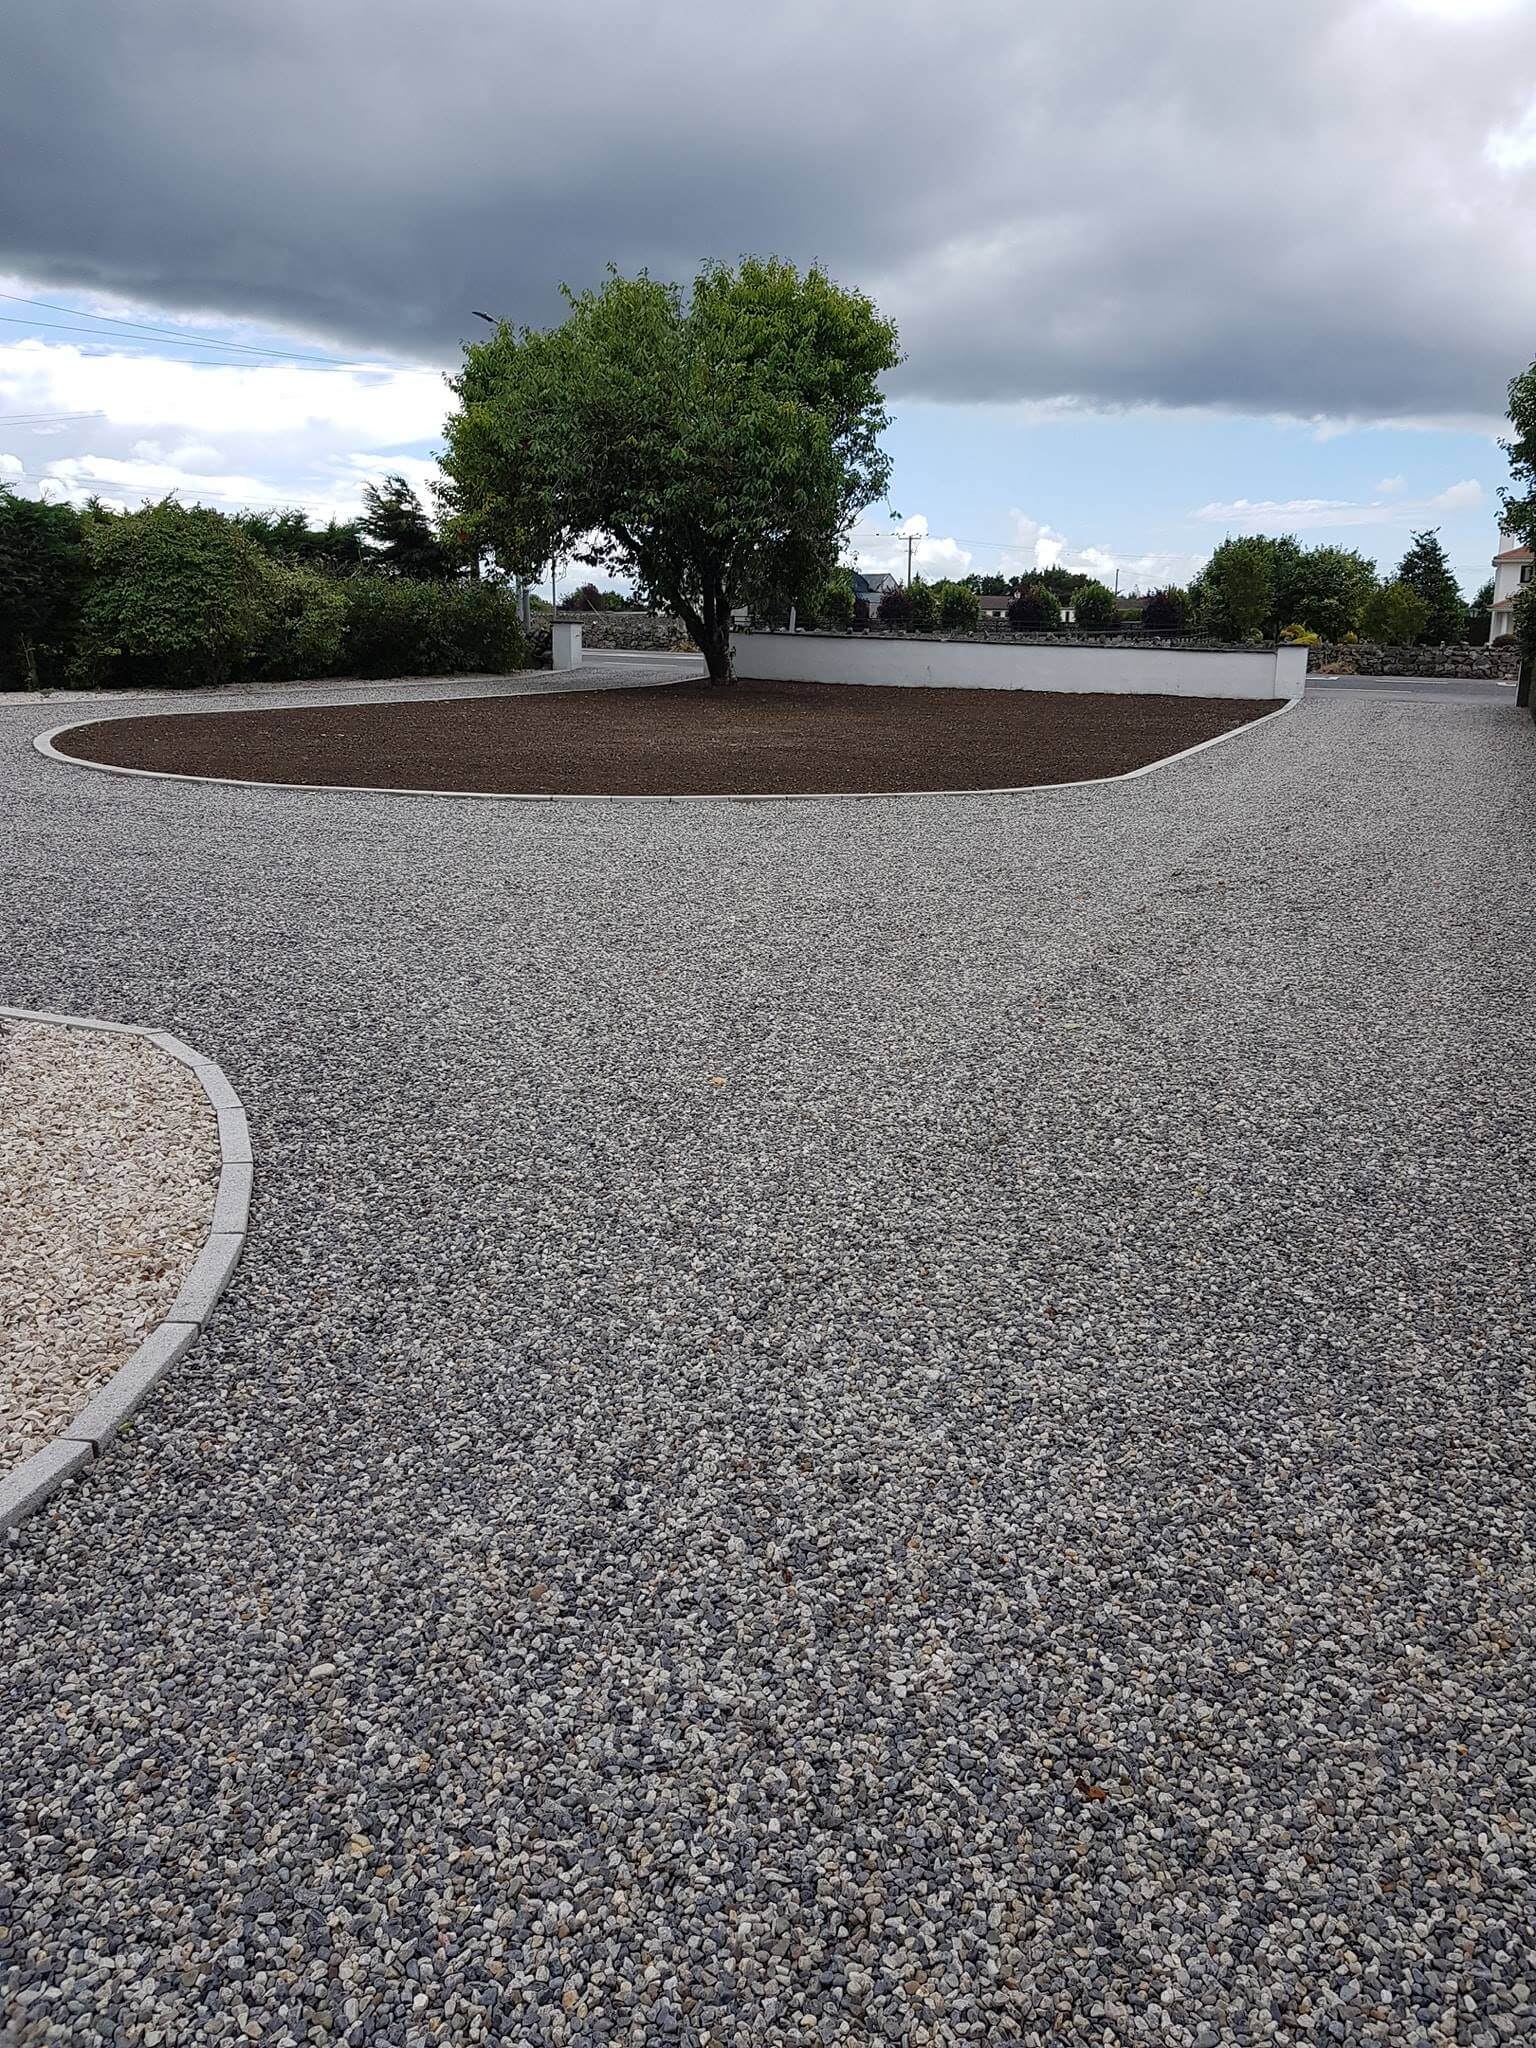
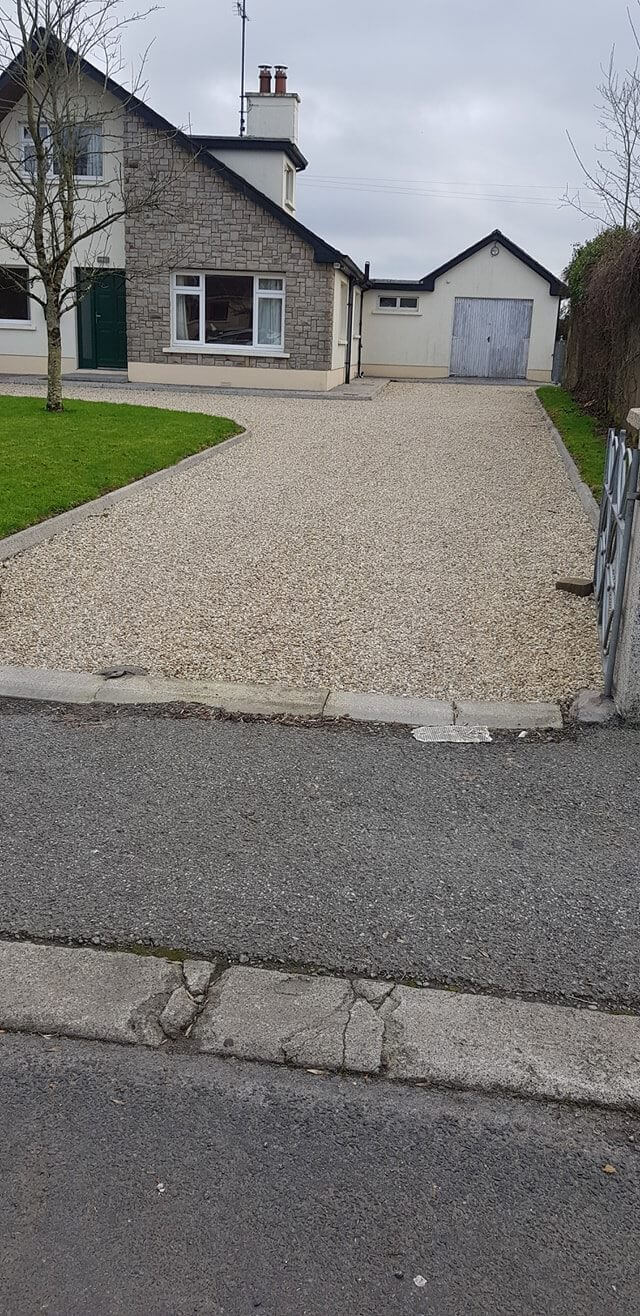
Driveways
Our decorative stone is a relatively cheap, fast and stunning way to transform any driveway or external area of a home. We believe it is a great environmentally friendly alternative to a chemical laden tarmac driveway.
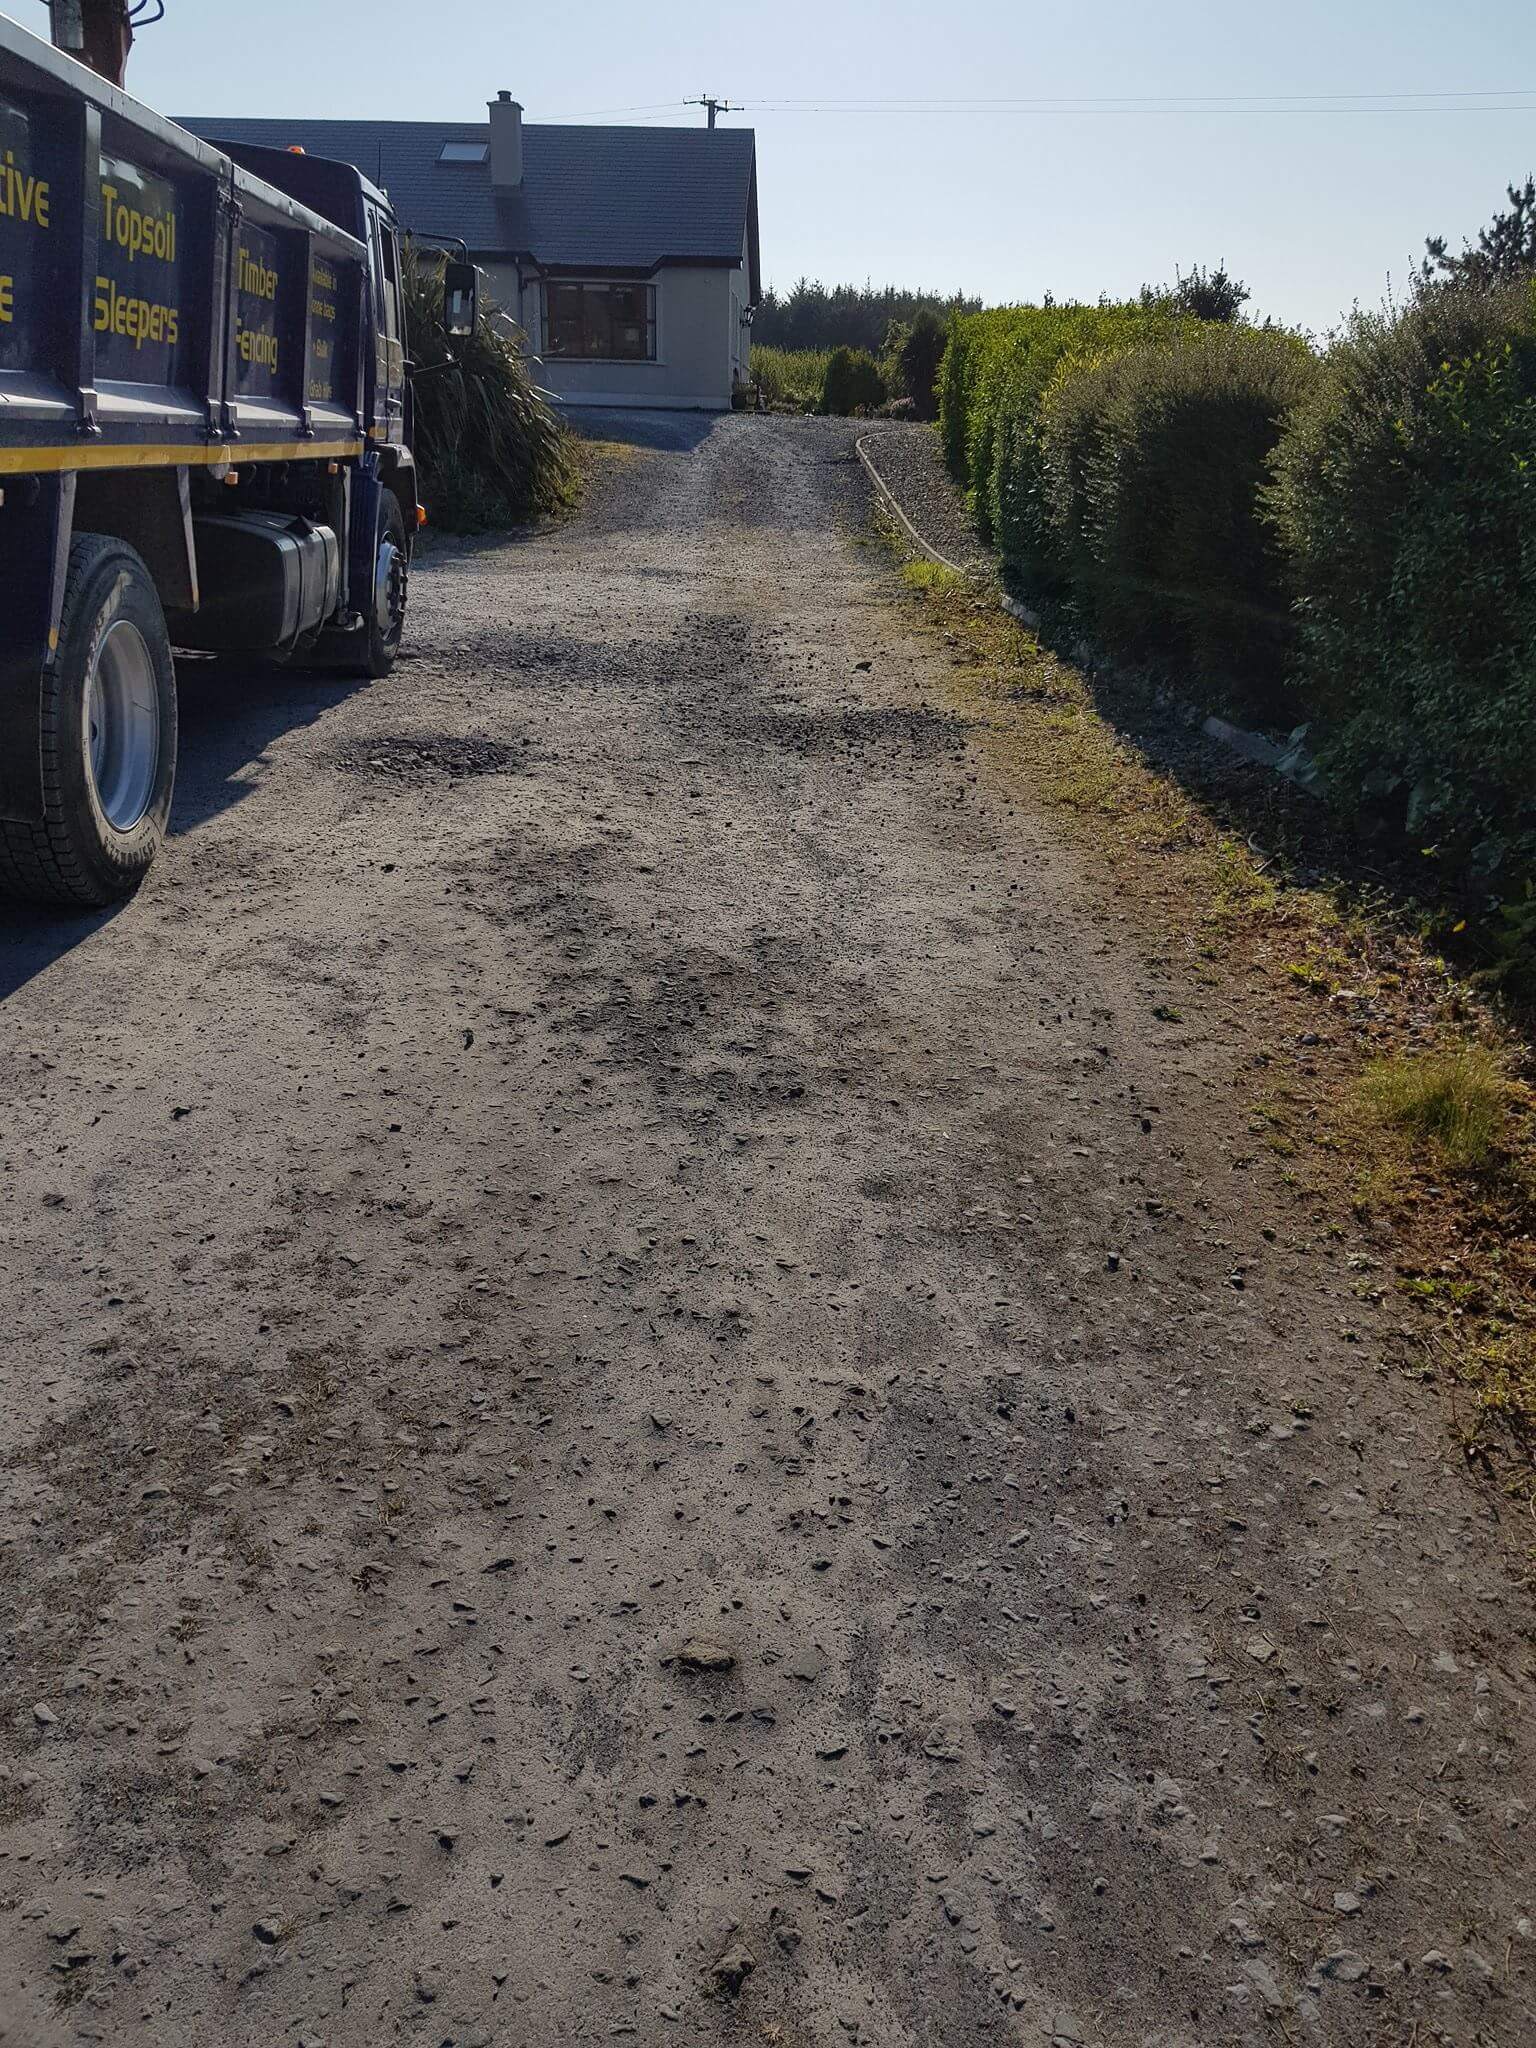
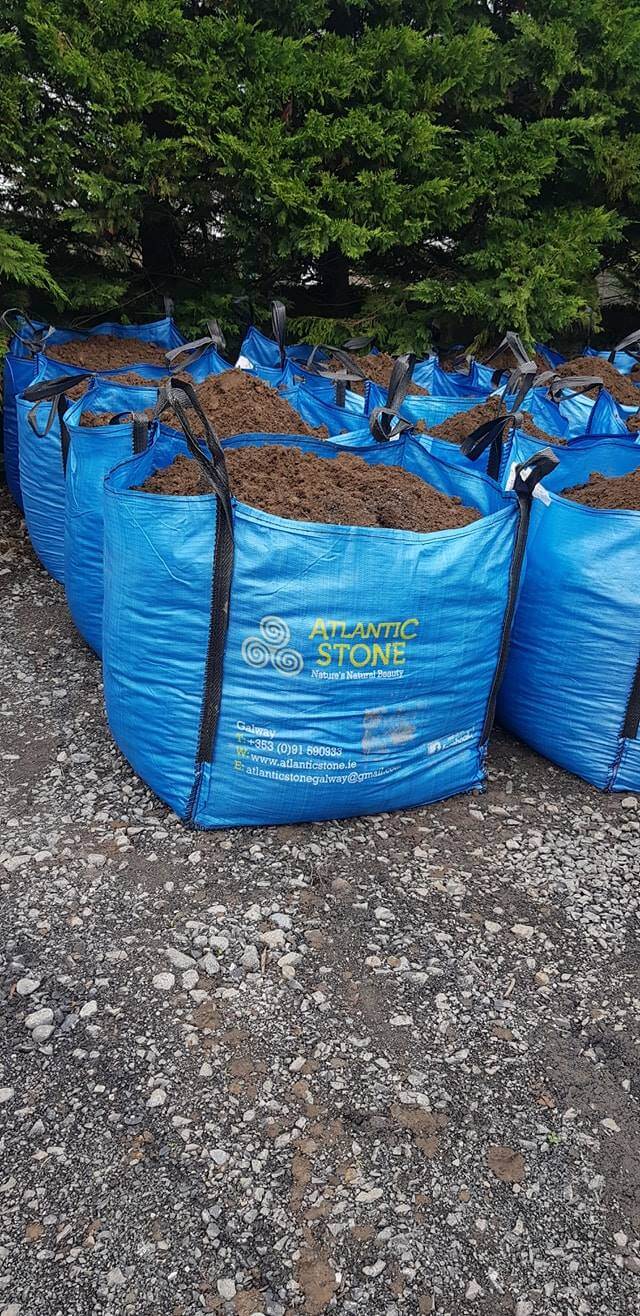
Do you have a garden made mainly from builders rubble ?
Our screened topsoil is a high quality product that we can deliver to you in tonne bags or loose in bulk. We can supply and fit or supply only – so you can enjoy the manual labour yourself! Although with our grab lorry delivery we can often take out a lot of the hard work for you by dropping our bags exactly where you want them. Our top soil can be used for lots of different applications around the garden:
For making new beds and borders
For raised beds
For an ideal level base for lawns
Or for any area where the natural soil is poor or non-existent.
How Much Topsoil Do I Need? We recommend the following:
For laying lawns you will need at least 10cm (4in) layer of top soil
New beds will need about 20cm (8in) or more
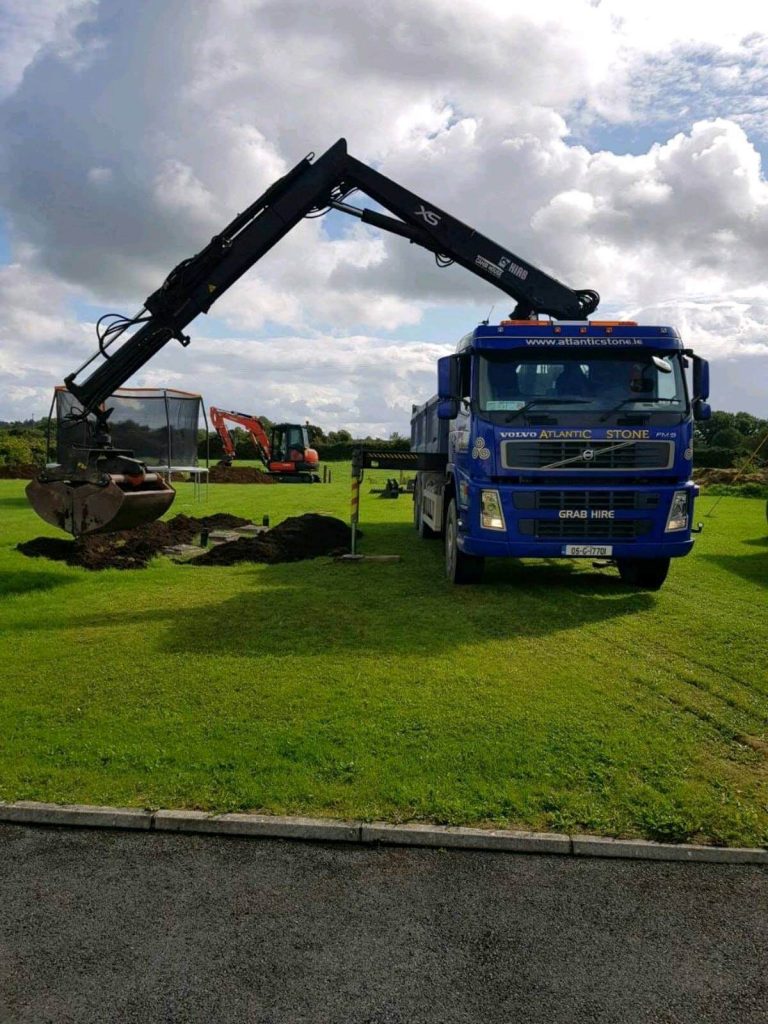
Our team hard at work, fixing low spots in a garden.
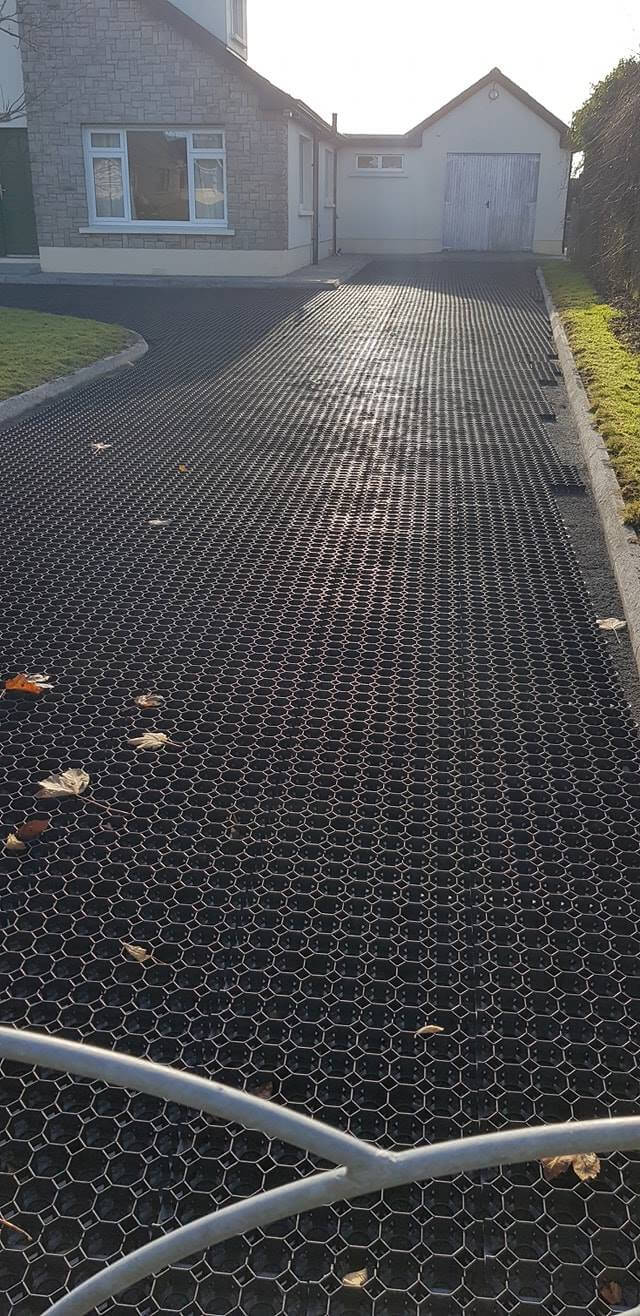
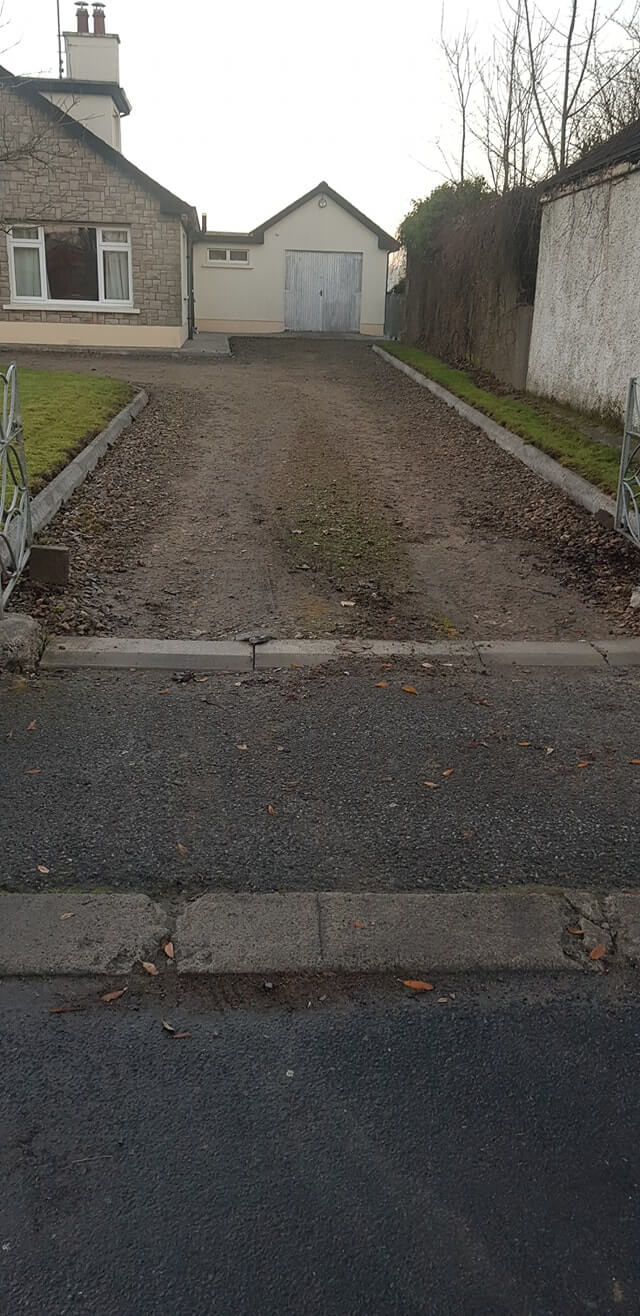
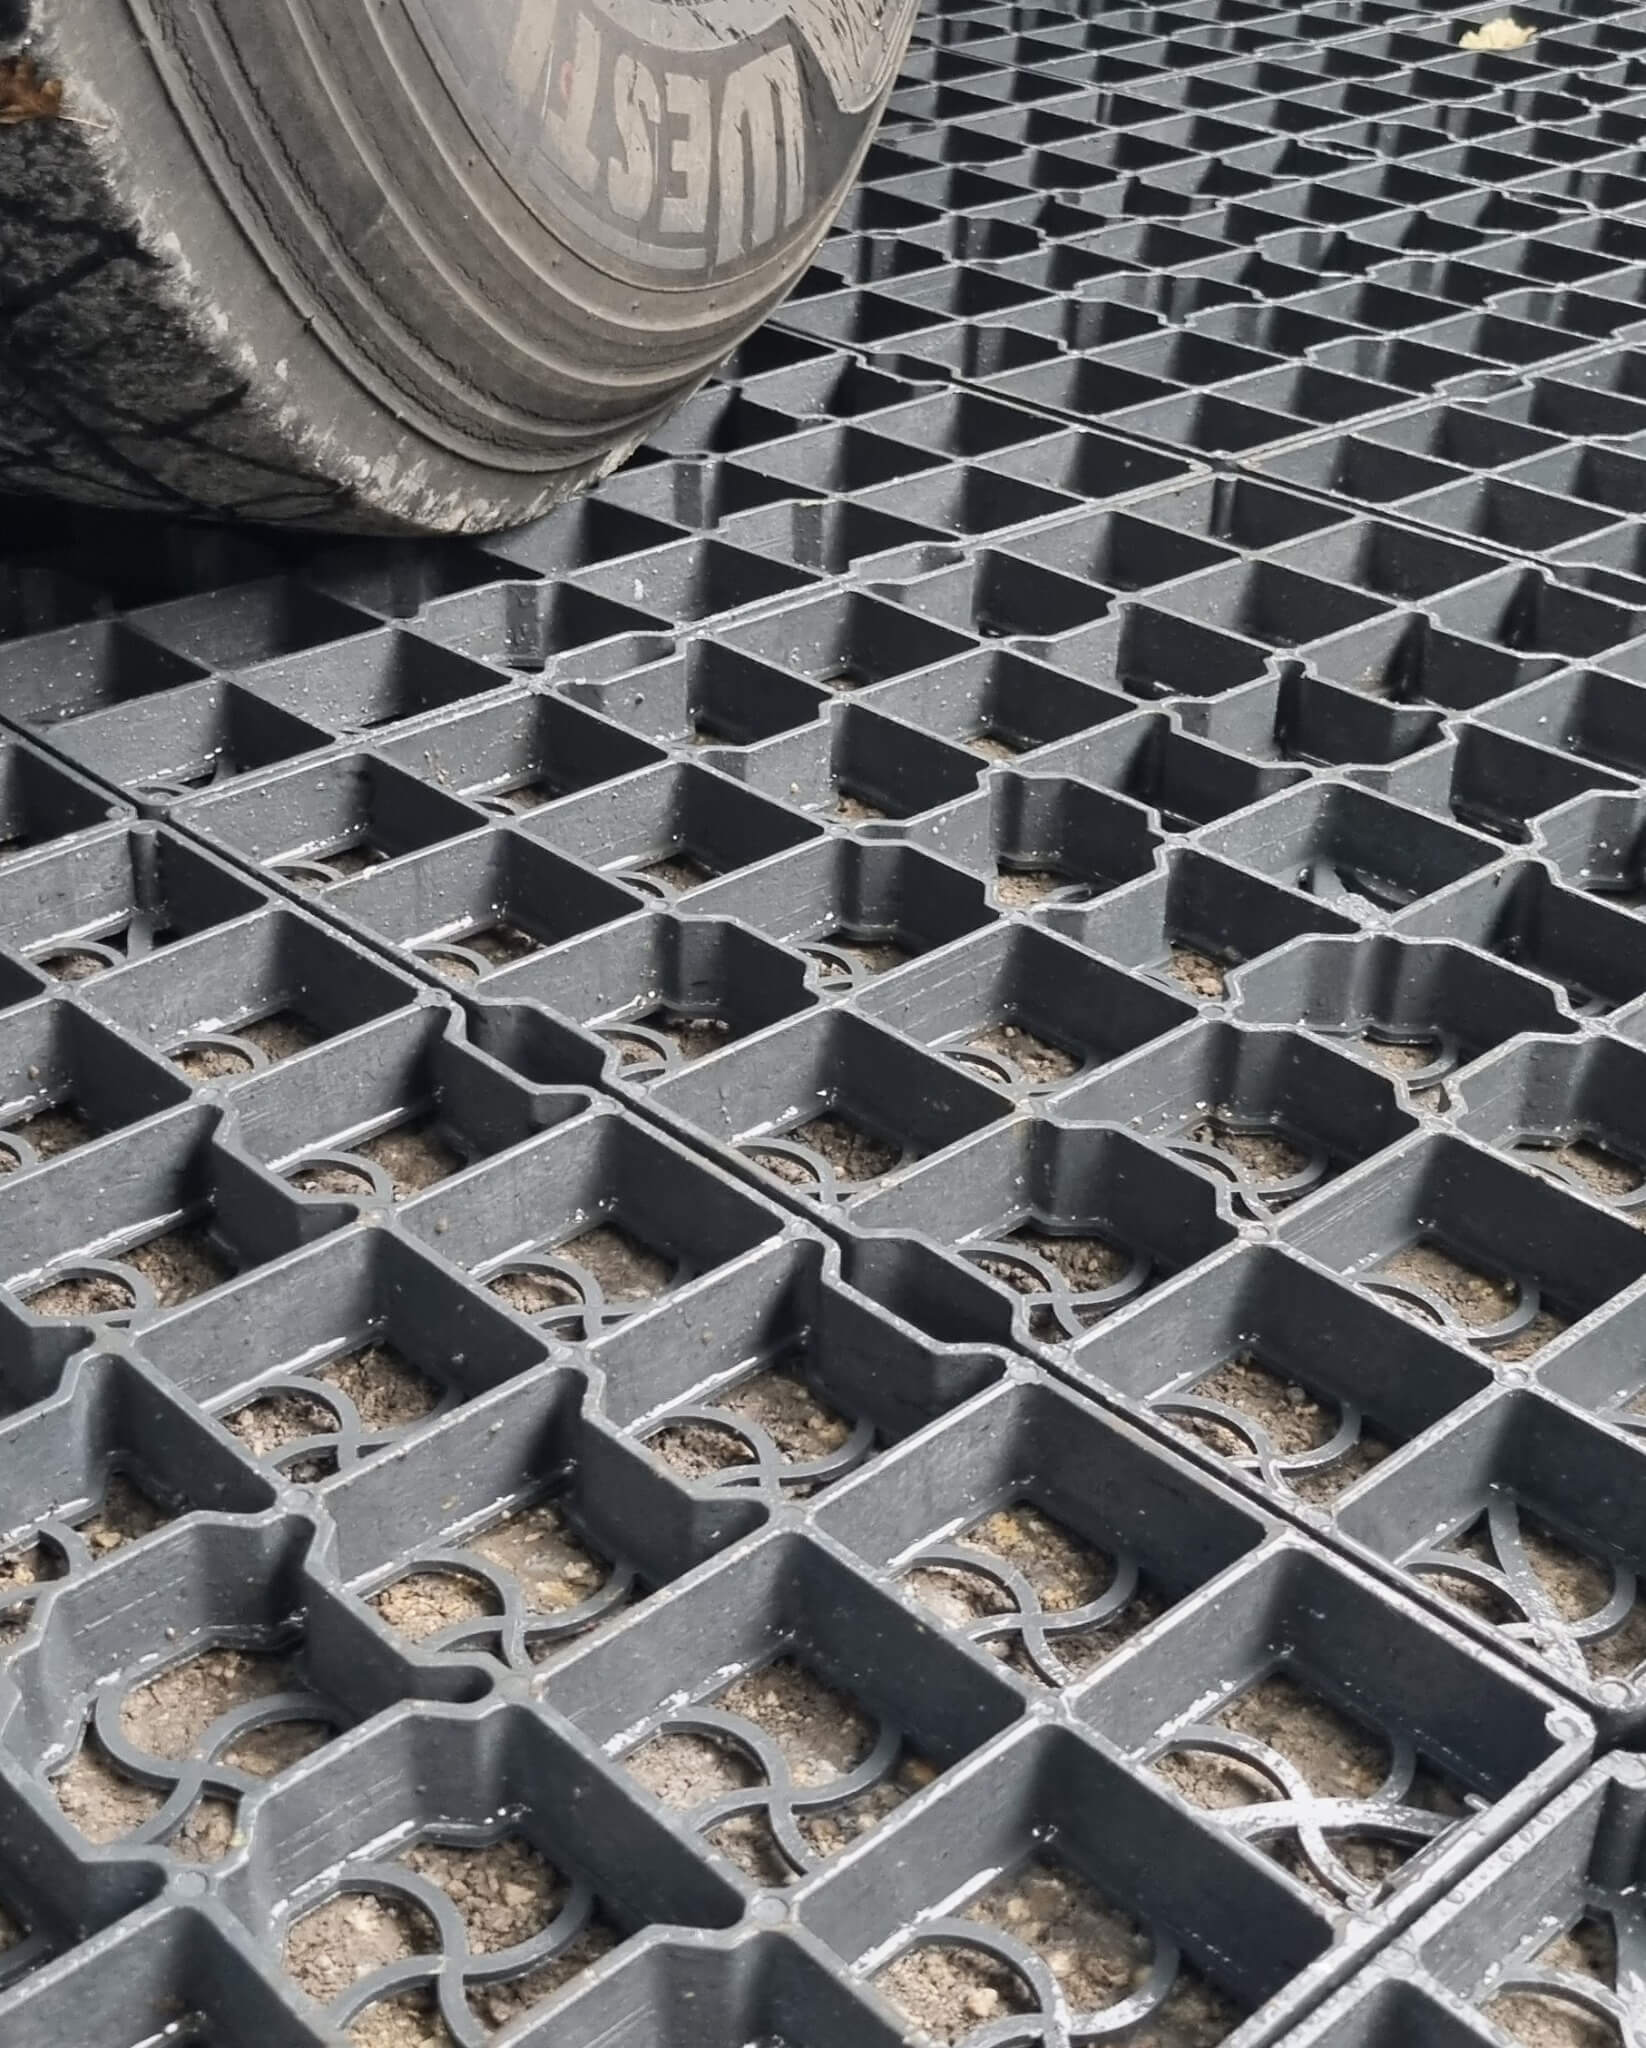
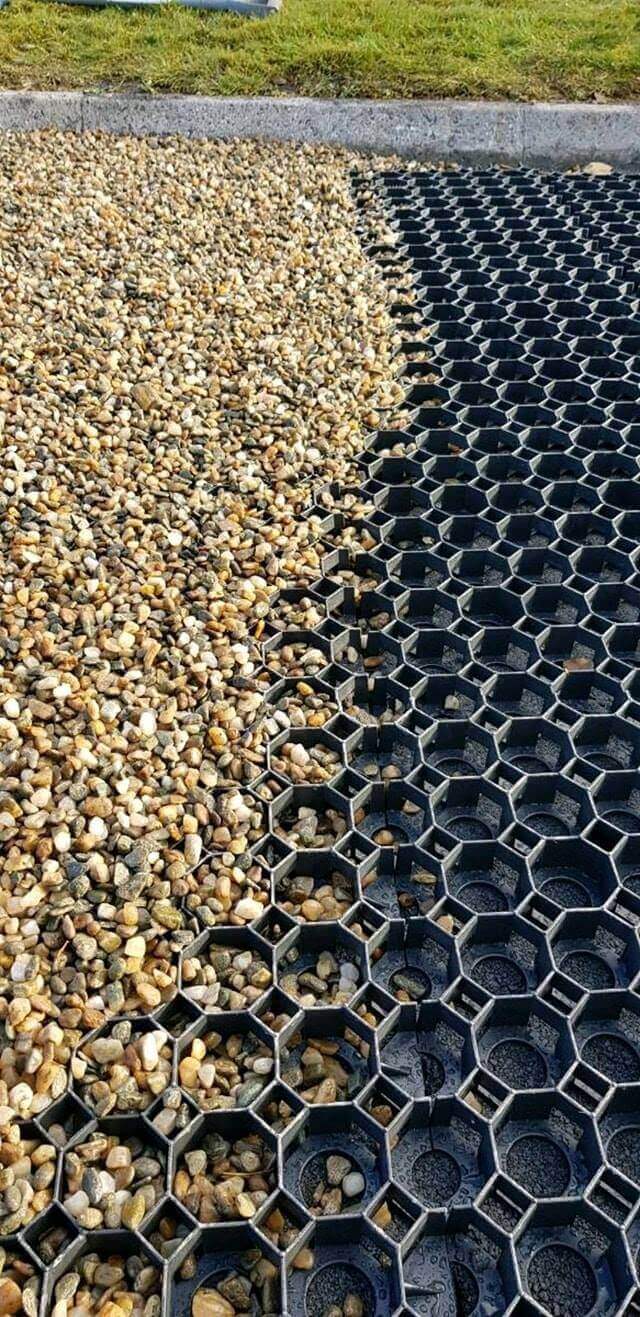
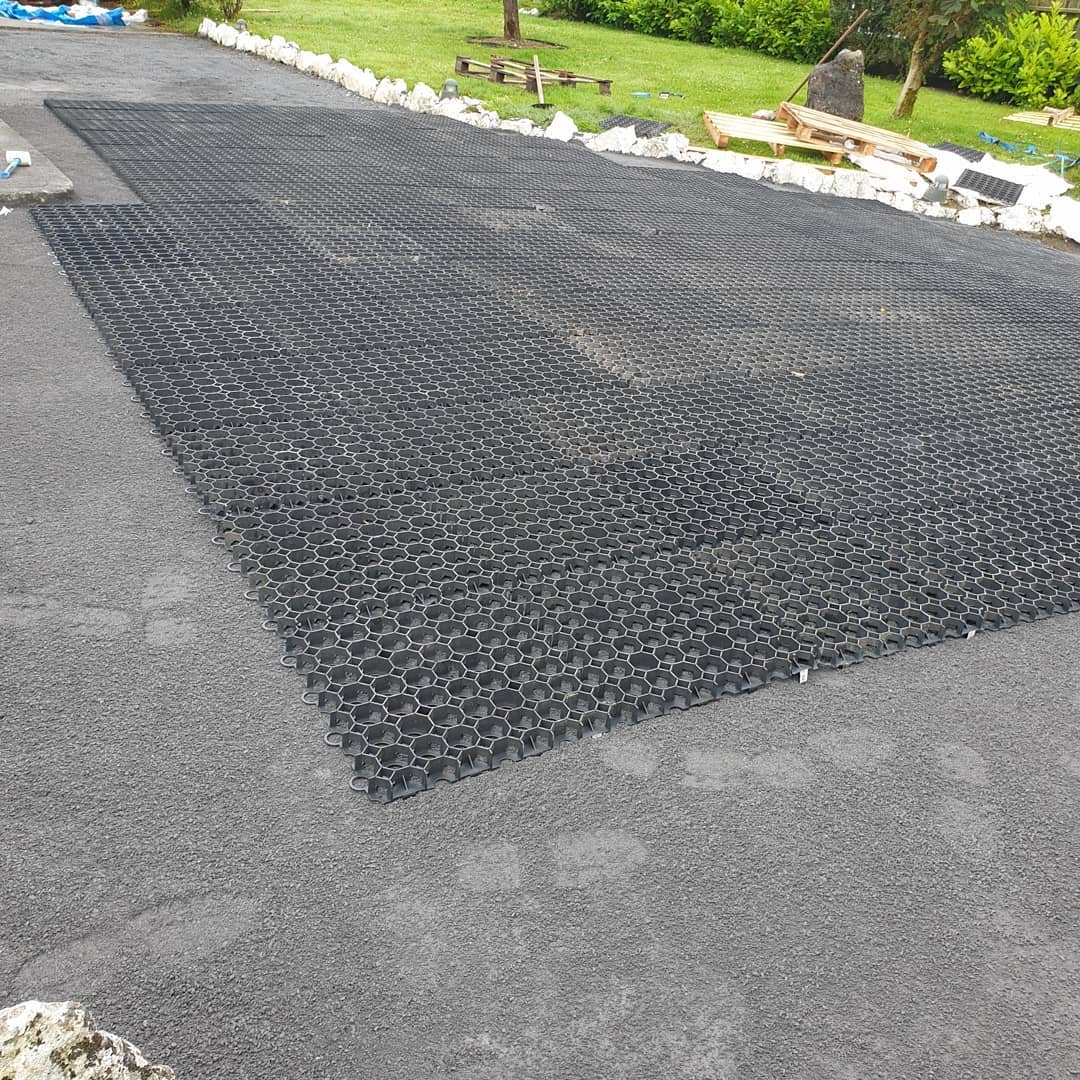
If you have a sloping driveway or simply a surface that will not allow pebble to stay in place (a hard surface underneath generally tends to make the pebble run – and can be dangerous in some instances) – why not try our stabilisation grid?
It is the ideal durable and easy to fit solution. See a recent project below.
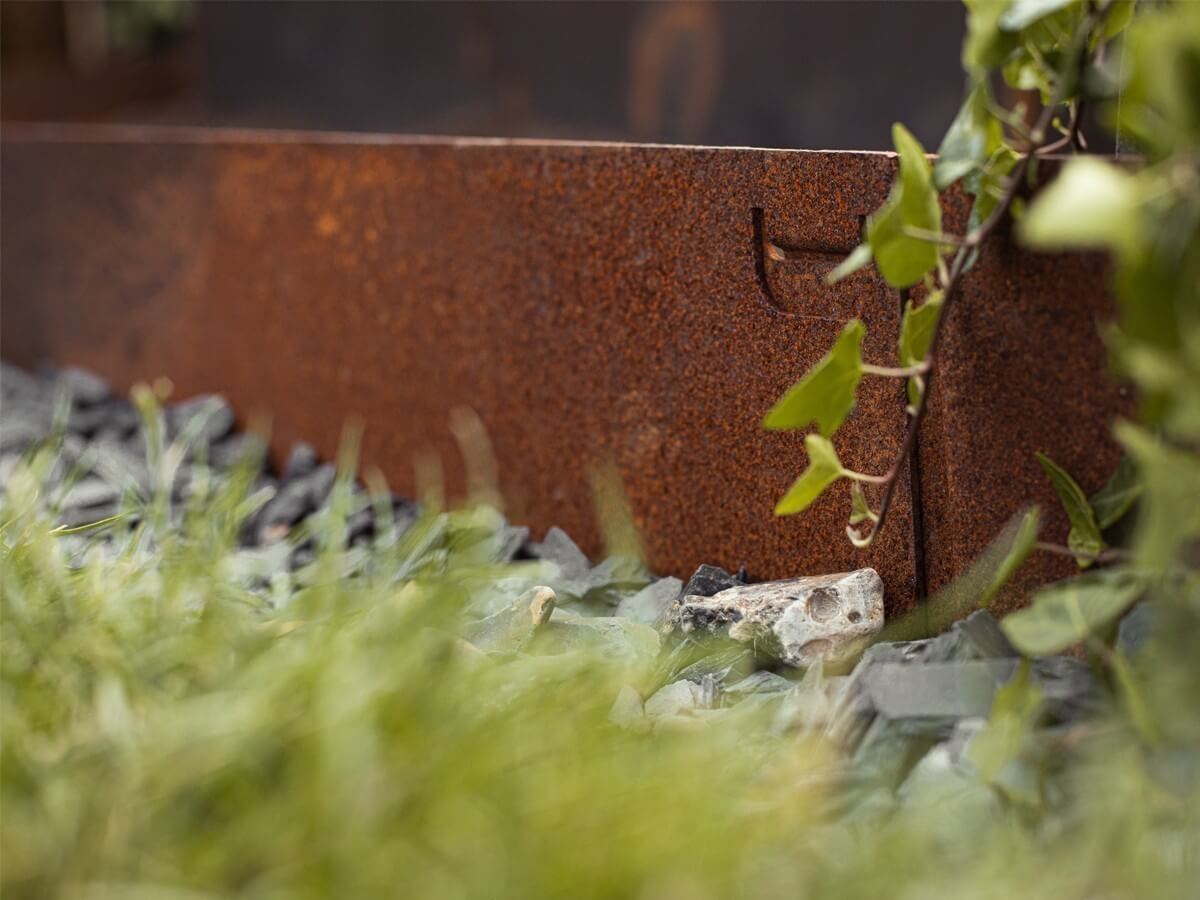
Our “rust” coloured steel garden edgings are made of 1.6mm mild steel and sufficiently strong for lawn mowers and light vehicles. These flexible, steel border edges can be quickly installed without special tools. Easy to install in straight lines and curved shapes or bend on-site into corners. The border takes on a stable rust look when exposed to the elements of nature. The steel oxidizes and this protective layer significantly slows the rate of future corrosion, while looking great. The anchoring pins contain a unique fold in the middle, strengthening the ground anchor and making the border ideal for use in heavier soil.
Benefits:
Easy installation
Weatherproof
Strong
Applications:
Lawn and border edges
Finishing of paths and terrace
Flower bed or vegetable garden
Technical Information:
Material: Flexible steel
Material thickness: 1.6mm
Overall length: 1075mm
Usable length: 1000mm
Height 100mm
Number per package: 5 borders (5m total)
About Corten steel’s “Rusting” process:
The layer protecting the surface develops and regenerates continuously when subjected to the elements of the weather, in other words the steel is allowed to rust in a controlled way in order to form a protective layer upon itself.
This weathering process can take up to a year to fully form. During this time there may be some run-off which can stain nearby concrete or stone.
It is important to protect these neighbouring surfaces while the weathering process is happening, once the protective surface has fully formed, there will be no further risk of staining.
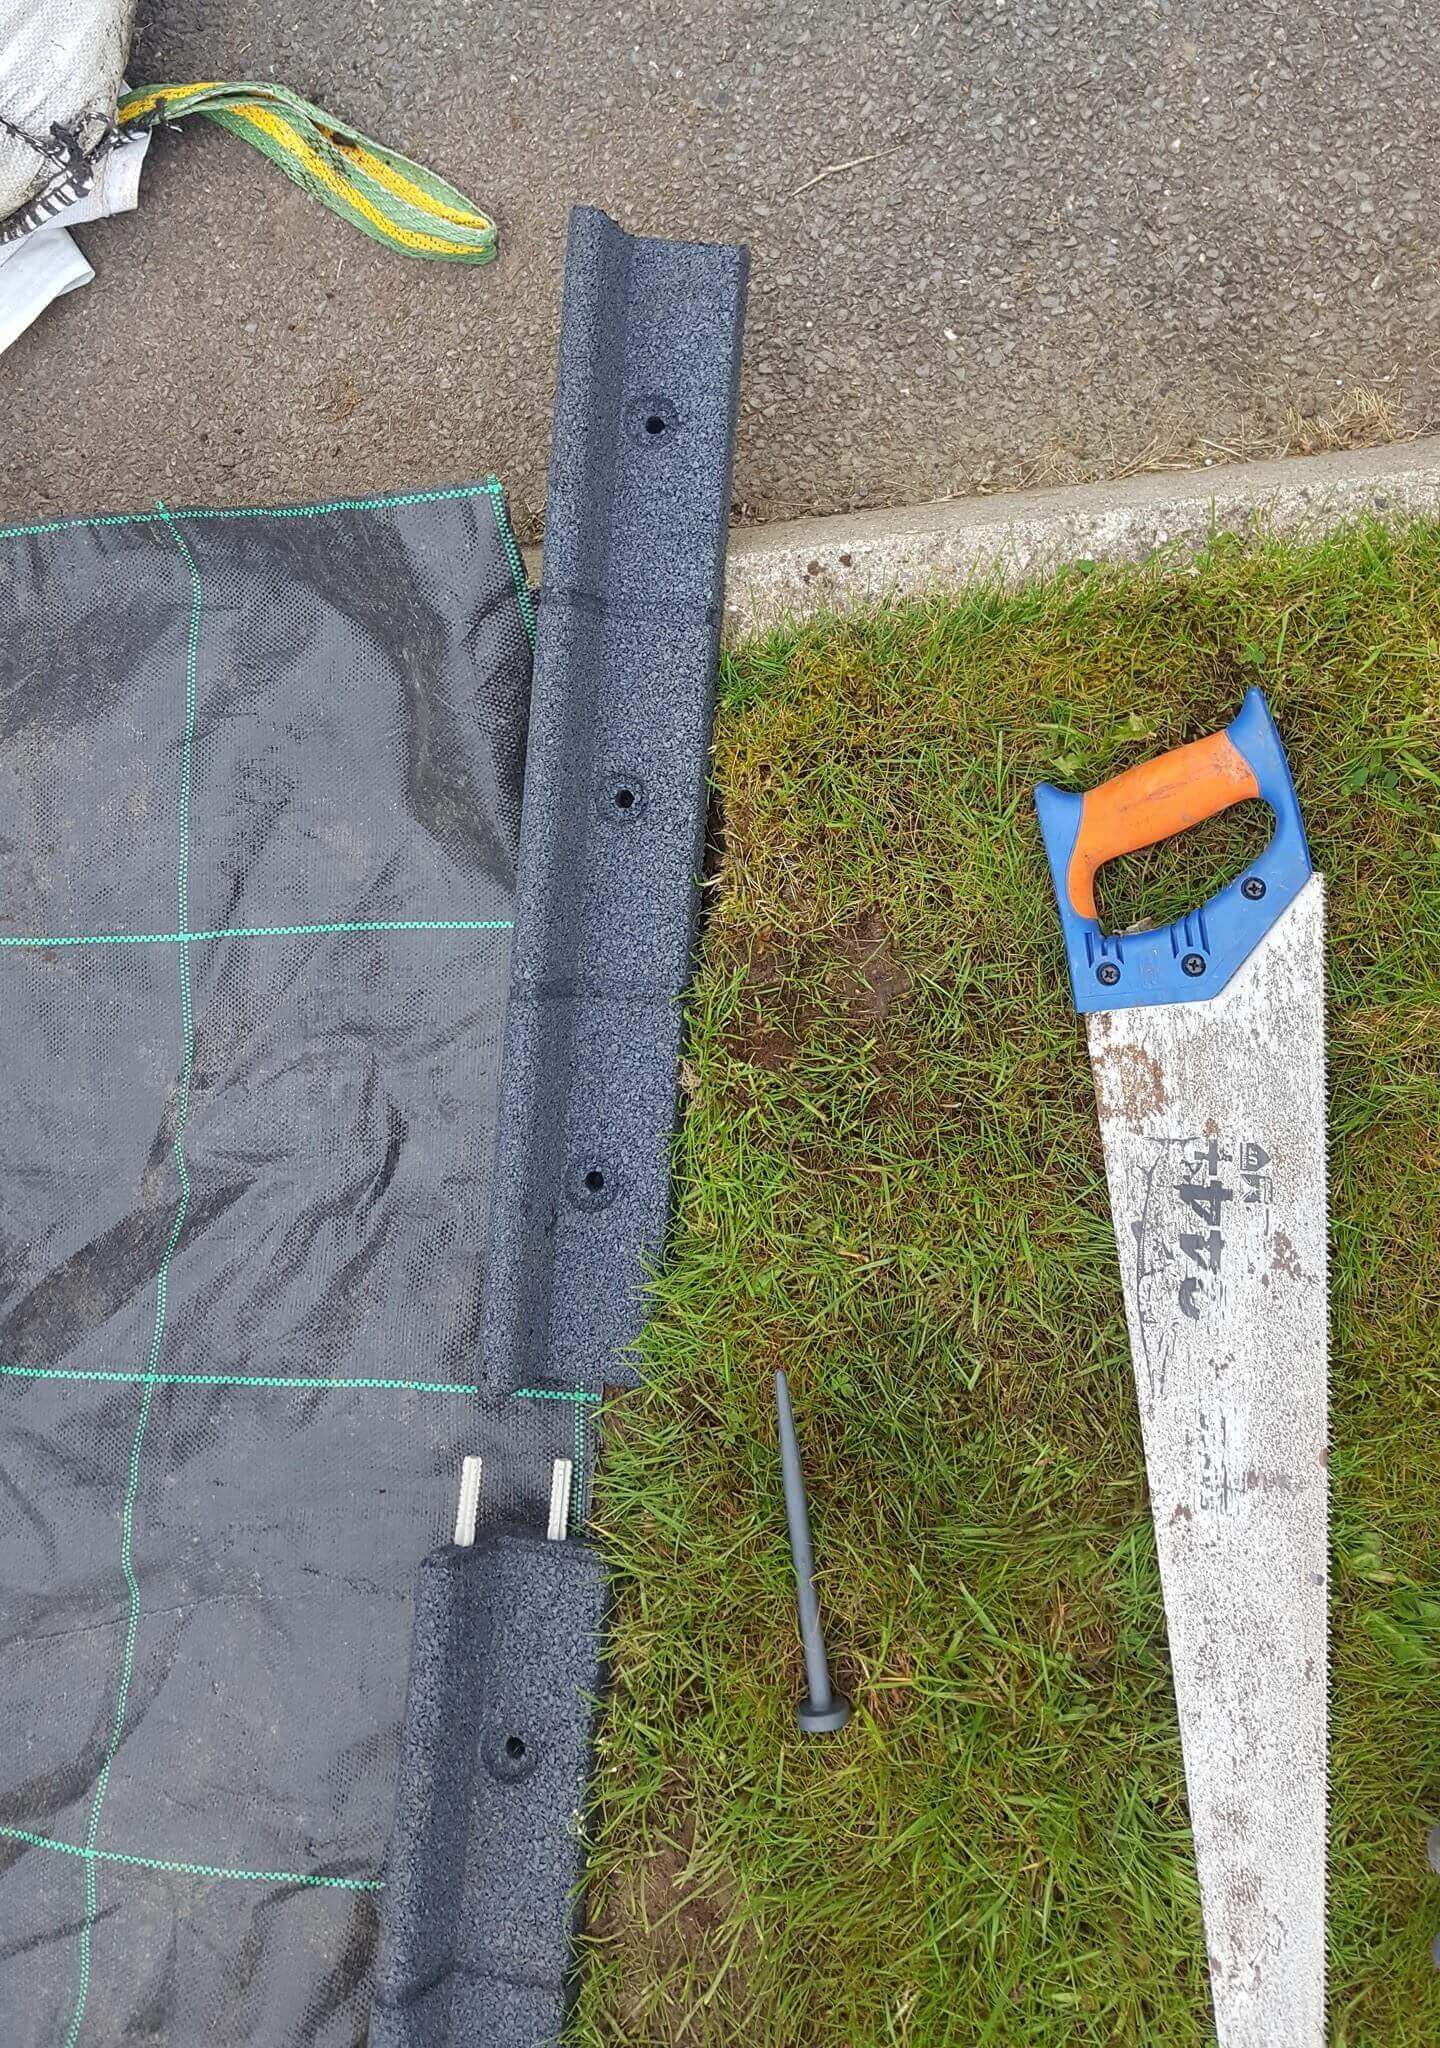
Installation:
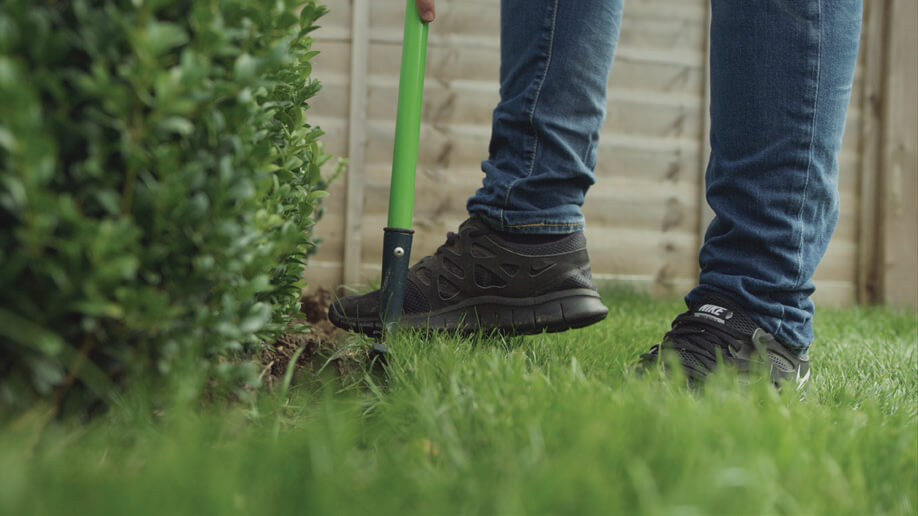
1. Prepare the area you would like to install the edging. If the ground is hard, we would advise that you loosen the ground with a flat spade or pickaxe to make the edging easier to install.
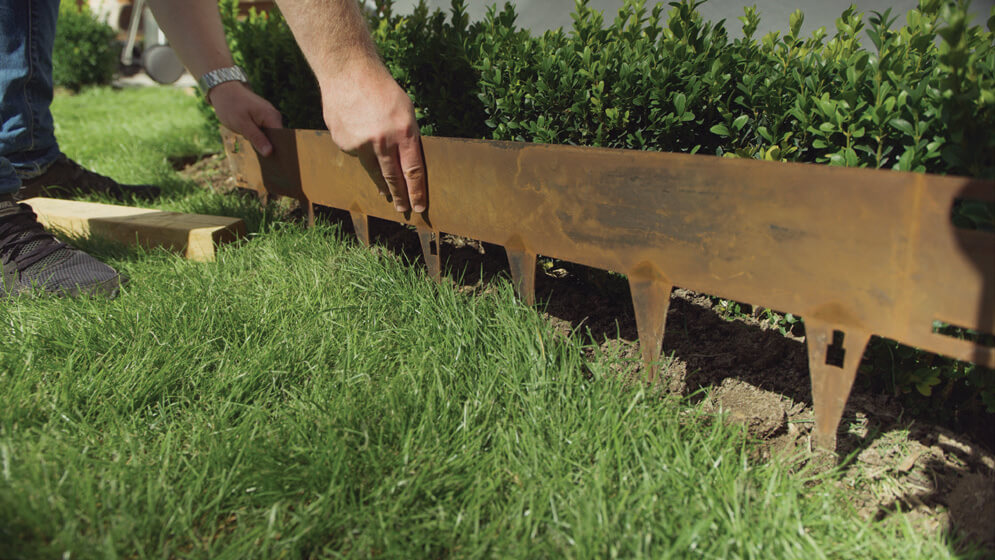
2. Once the ground is prepped, begin by placing your first piece of Edging into the ground, up close to the edge you have formed. Ensure the edging is facing the correct way – with the logo facing outwards.
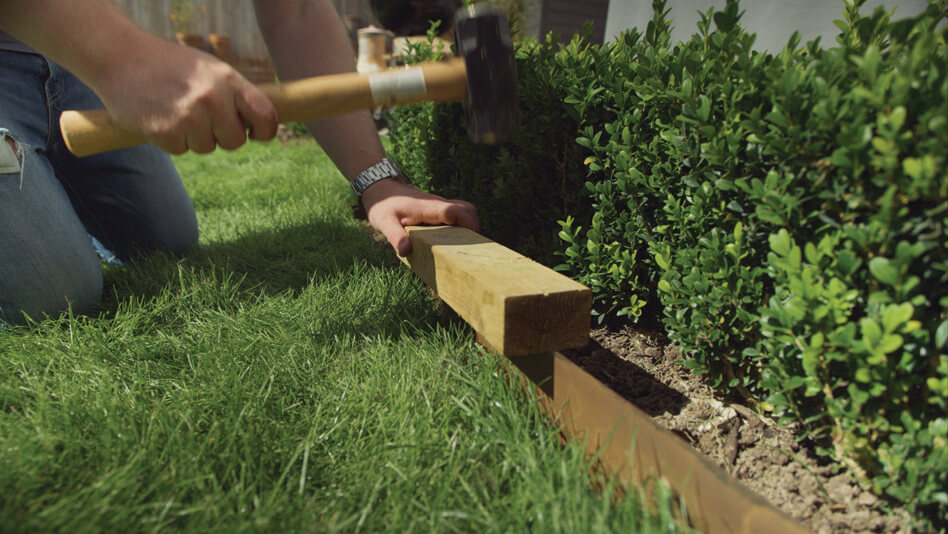
3.The best way to drive the edging into the ground would be using a block of wood and a hammer/mallet. The block of wood ensures the top of the edging doesn’t get damaged and makes installation safer.
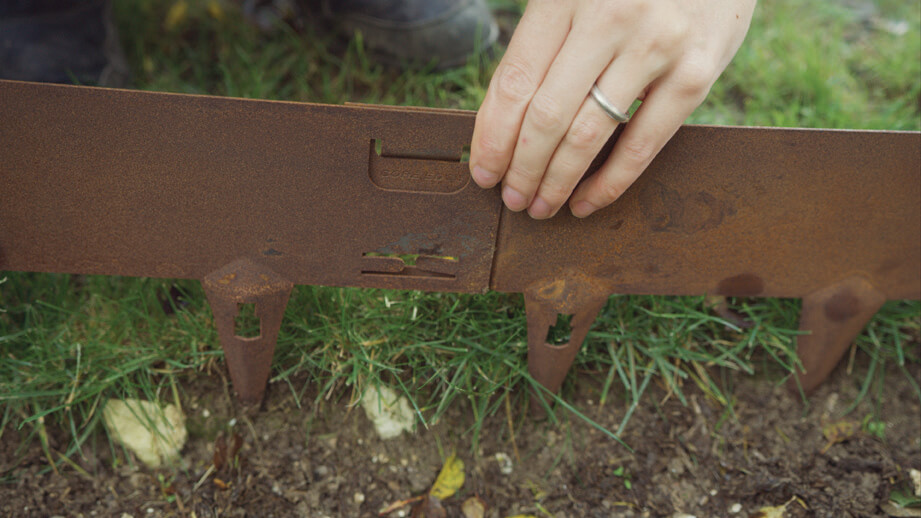
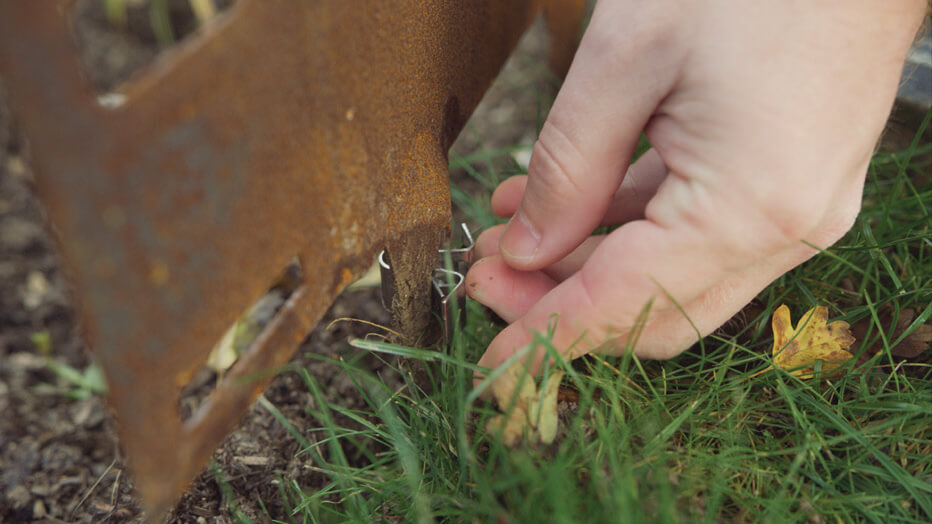
4. Once your first length is in, you can then attach your second length by securing them together using the large connecting tab at the top of each piece of edging.
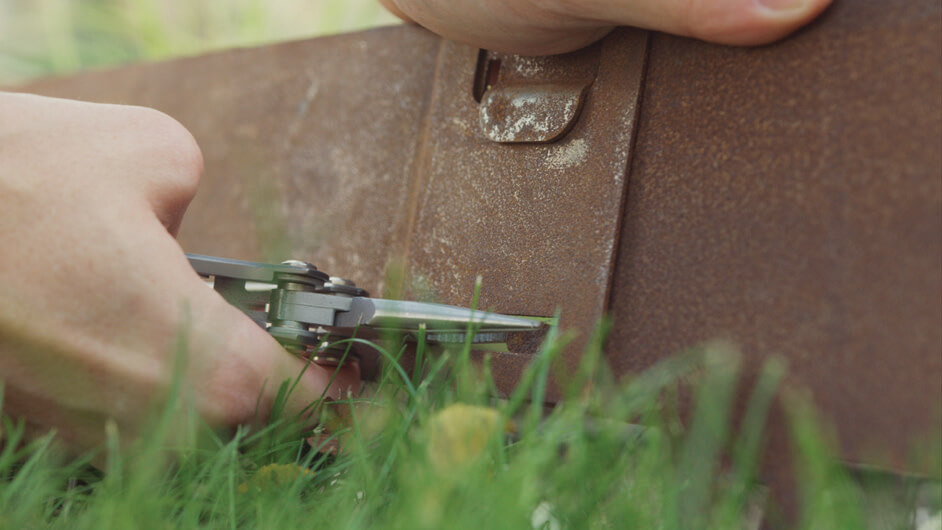
5. After securing the edging at the top, take a pair of long nose pliers and then bend the locking tabs at the bottom back on themselves to fully secure the two pieces of Edging together.
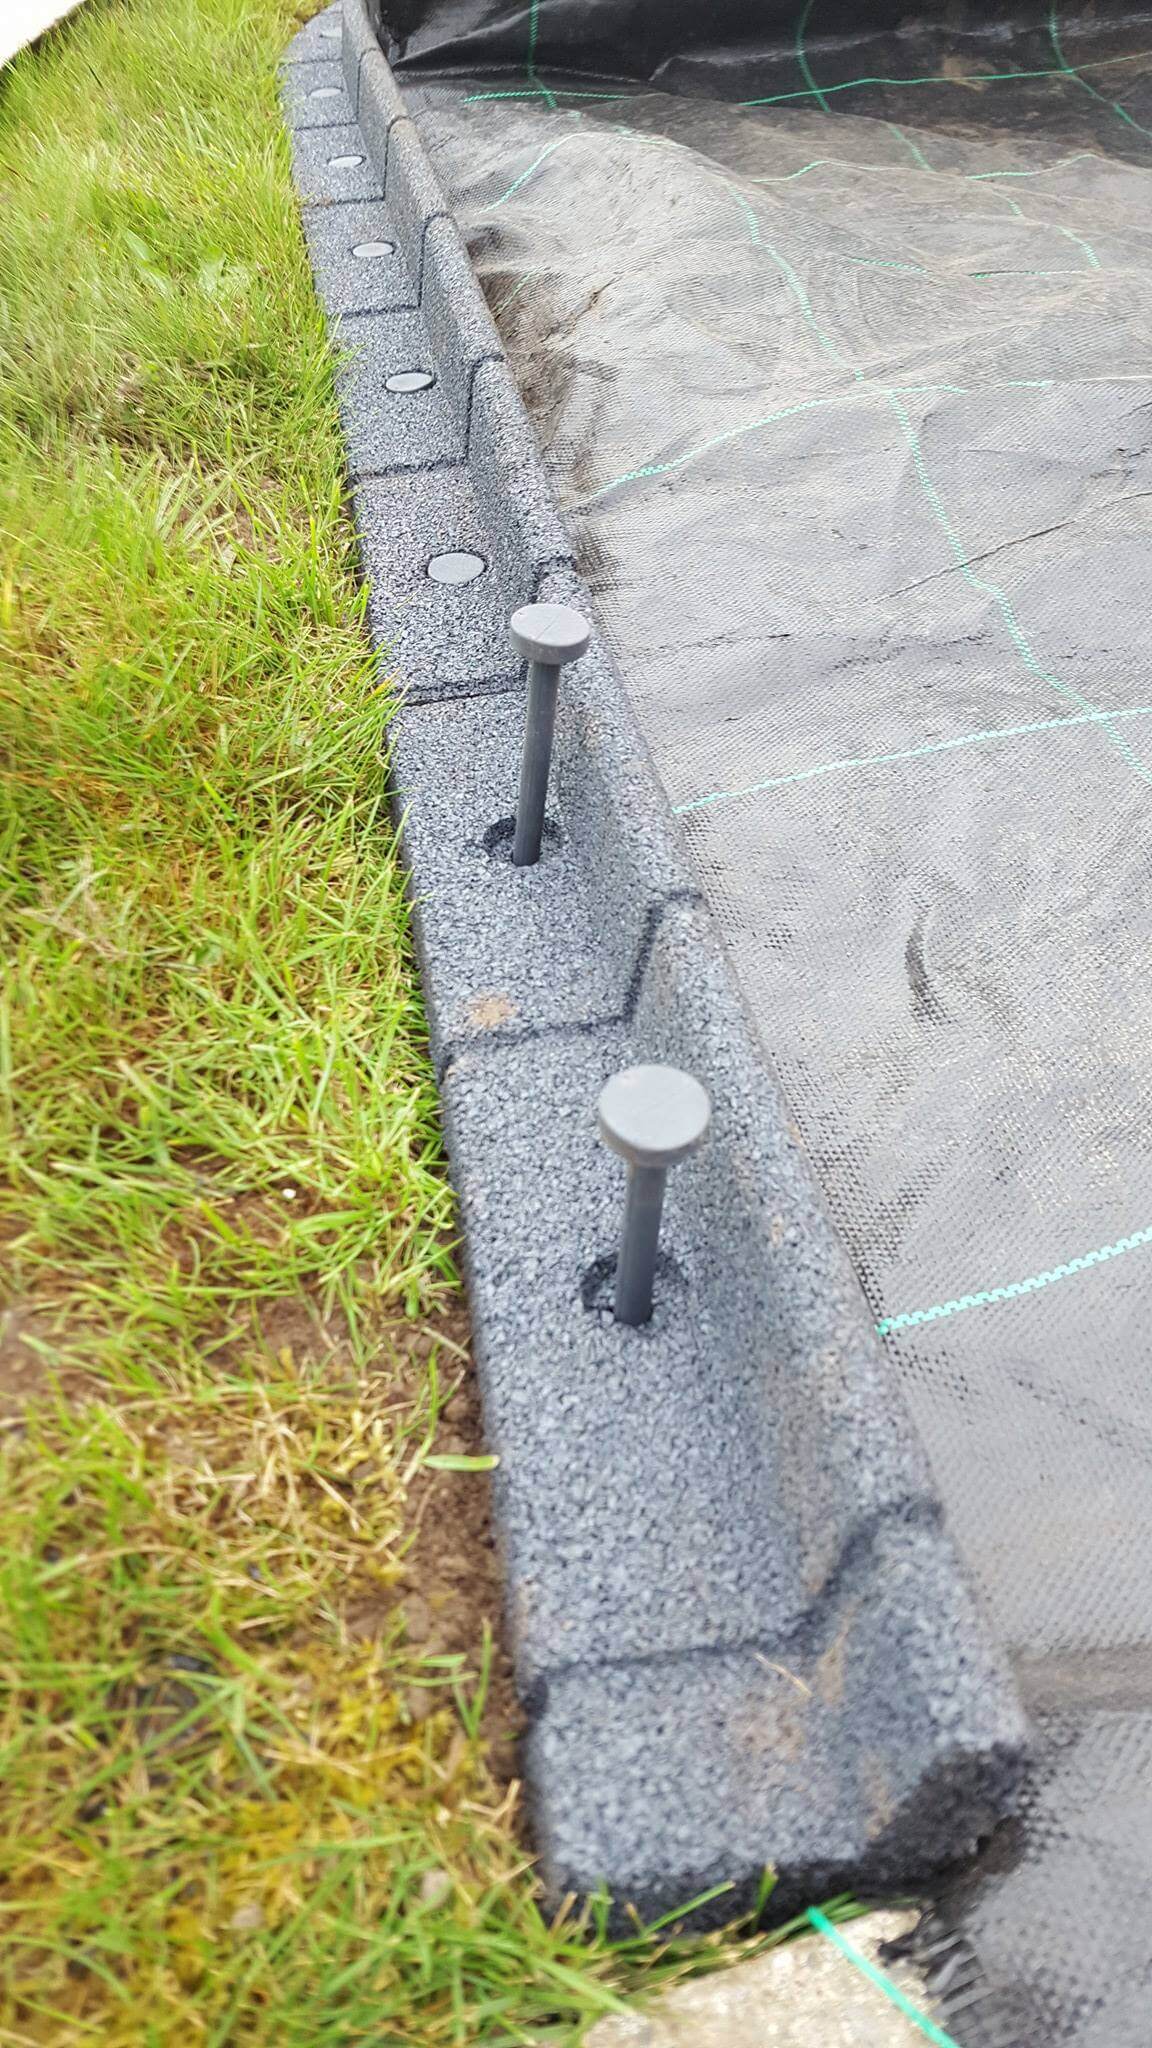
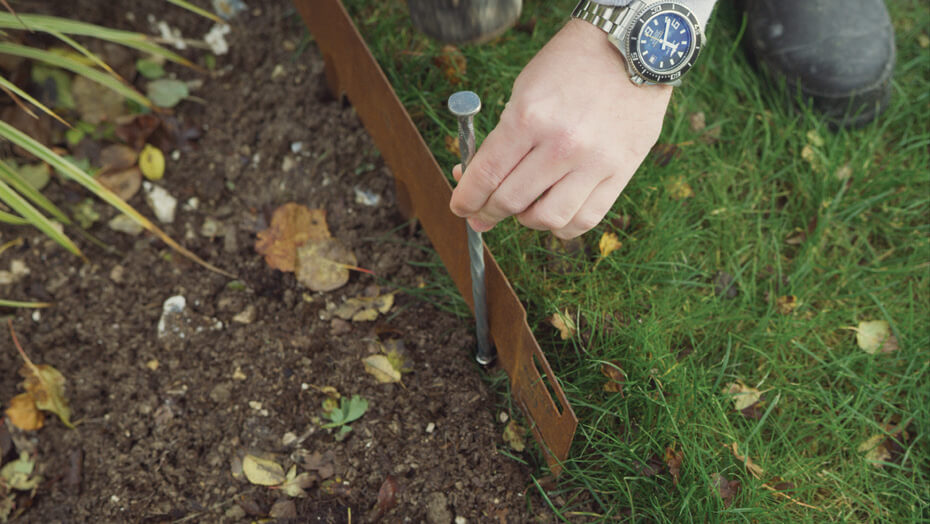
6. Repeating steps 4 and 5 would usually be the way to finish your install, however, if you encounter particularly soft ground, our 300mm rebar extension pins can be used. Take the clip and pop it through the window on the spike first.
7. Once the clip is secure through the window in the spike, take the 300mm rebar pin and place it through the hole and hold it in place. Take your hammer/mallet and tap down at first – then when its gone through – you can strike down to bury the spike to the top of the clip.
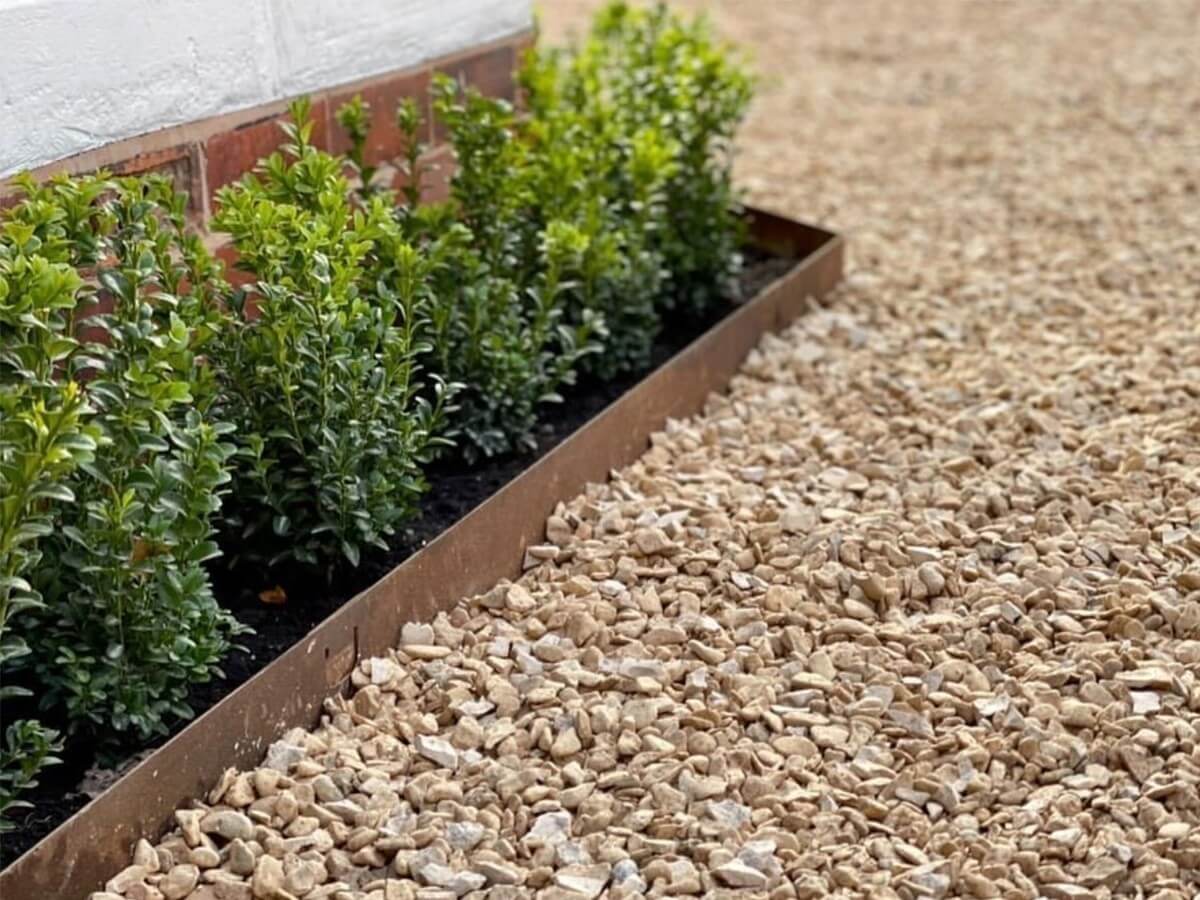
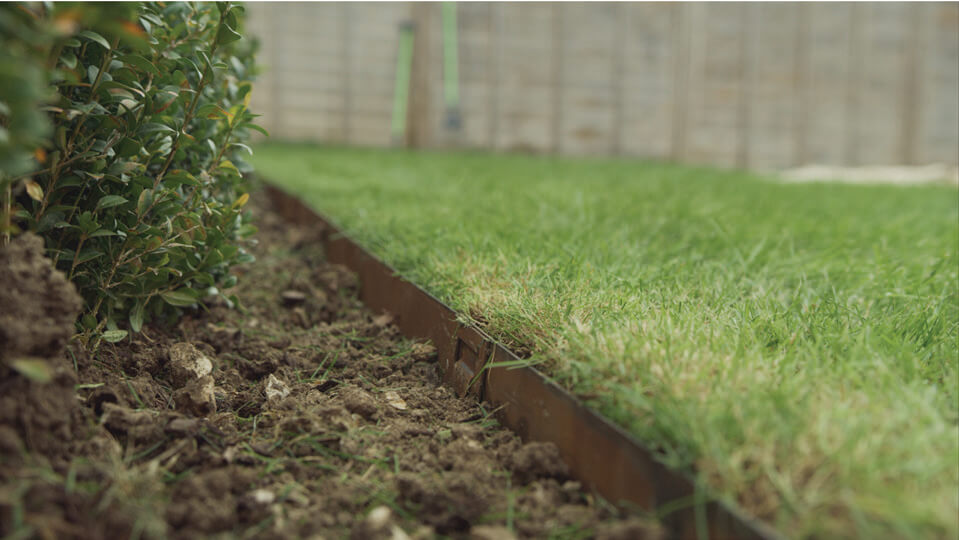
8. The finished result will leave a crisp and neat finish to your garden borders. Here is a straight-line edge, but the edging can be curved or bent into 90 degree angles for corners.
We use cookies on our website to give you the most relevant experience by remembering your preferences and repeat visits. By clicking “Accept All”, you consent to the use of ALL the cookies. However, you may visit "Cookie Settings" to provide a controlled consent.
This website uses cookies to improve your experience while you navigate through the website. Out of these, the cookies that are categorized as necessary are stored on your browser as they are essential for the working of basic functionalities of the website. We also use third-party cookies that help us analyze and understand how you use this website. These cookies will be stored in your browser only with your consent. You also have the option to opt-out of these cookies. But opting out of some of these cookies may affect your browsing experience.
Necessary cookies are absolutely essential for the website to function properly. These cookies ensure basic functionalities and security features of the website, anonymously.
Cookie
Duration
Description
cookielawinfo-checkbox-analytics
11 months
This cookie is set by GDPR Cookie Consent plugin. The cookie is used to store the user consent for the cookies in the category "Analytics".
cookielawinfo-checkbox-functional
11 months
The cookie is set by GDPR cookie consent to record the user consent for the cookies in the category "Functional".
cookielawinfo-checkbox-necessary
11 months
This cookie is set by GDPR Cookie Consent plugin. The cookies is used to store the user consent for the cookies in the category "Necessary".
cookielawinfo-checkbox-others
11 months
This cookie is set by GDPR Cookie Consent plugin. The cookie is used to store the user consent for the cookies in the category "Other.
cookielawinfo-checkbox-performance
11 months
This cookie is set by GDPR Cookie Consent plugin. The cookie is used to store the user consent for the cookies in the category "Performance".
viewed_cookie_policy
11 months
The cookie is set by the GDPR Cookie Consent plugin and is used to store whether or not user has consented to the use of cookies. It does not store any personal data.
Functional cookies help to perform certain functionalities like sharing the content of the website on social media platforms, collect feedbacks, and other third-party features.
Performance cookies are used to understand and analyze the key performance indexes of the website which helps in delivering a better user experience for the visitors.
Analytical cookies are used to understand how visitors interact with the website. These cookies help provide information on metrics the number of visitors, bounce rate, traffic source, etc.
Advertisement cookies are used to provide visitors with relevant ads and marketing campaigns. These cookies track visitors across websites and collect information to provide customized ads.